
Rockwool Vapor Barrier Installation: The Santa Clarita Owner’s Guide
Rockwool vapor barrier installation in Santa Clarita typically runs $1,800-$3,400 for a complete attic system, depending on square footage and whether the existing barrier is being replaced or installed for the first time. We stock Rockwool-compatible vapor barrier materials on every truck, and most Santa Clarita jobs can be scheduled within 48 hours. Homeowners usually discover the problem during a home inspection, after noticing musty attic odors, or when their energy bill spikes despite the Rockwool batts looking intact from below.
Which Rockwool Models This Applies To
Rockwool’s Comfortbatt, Comfortboard, and AFB (Acoustical Fire Batt) lines all require a properly specified vapor barrier on the warm-in-winter side when installed in Santa Clarita’s mixed-dry climate zone. The critical detail most homeowners miss: Rockwool is hydrophobic and won’t absorb moisture, but it will let vapor pass straight through to your drywall or roof deck if the barrier is missing, misplaced, or perforated. We see this constantly in Canyon Country homes where a previous installer ran the barrier to the wrong side of the assembly.
To identify what you’re working with, check the kraft facing on existing batts. True Rockwool OEM vapor barrier facing is foil-scrim-kraft (FSK) with a perm rating of 0.05 or lower, marked with the Rockwool logo and ASTM E96 compliance. If your batts are unfaced, or the facing has degraded to the point that light passes through pinholes, you’re not protected. We source both Rockwool-spec FSK and equivalent Johns Manville laminated kraft barriers. The aftermarket option saves roughly 15% on material cost without sacrificing the perm rating, though we always note the substitution in writing per Haven Standard Clause 1.
Signs Your Rockwool Vapor Barrier Installation Is Failing
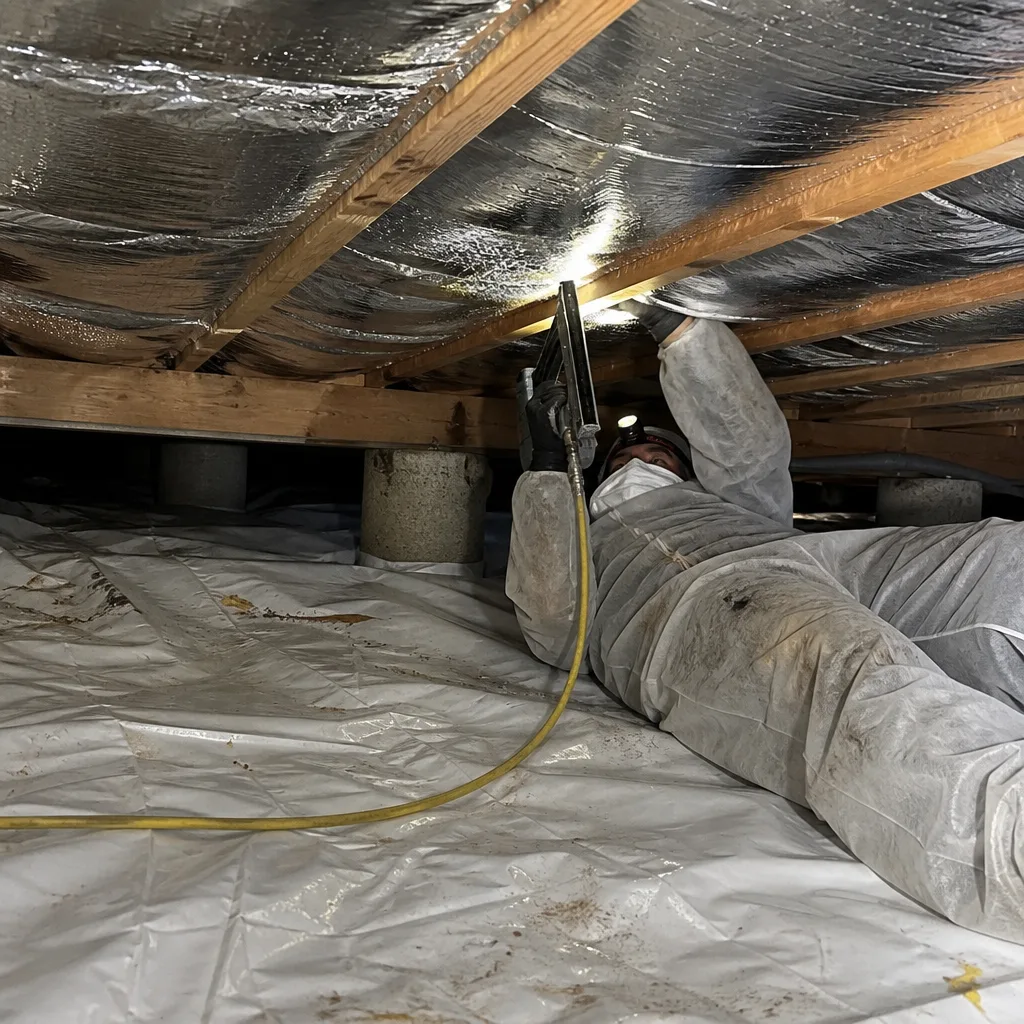
- Condensation on the underside of roof decking. When warm interior vapor hits the cold roof deck in a Santa Clarita January morning, it condenses. The Rockwool batt itself stays dry, but the surrounding wood absorbs the moisture. We find this pattern most often in Saugus and Newhall homes with original 1970s construction.
- Discolored ceiling drywall near top plates. Brownish staining at the wall-ceiling joint means vapor is migrating through gaps in the barrier and condensing on the drywall backside. The stain is often the first visible clue; by then, the paper facing on the drywall has been wet multiple cycles.
- Musty odor that worsens in shoulder seasons. Santa Clarita’s spring and fall bring temperature swings that drive vapor pressure differentials. A failed barrier lets just enough moisture through to activate dormant mold spores in the attic without ever producing visible leaks.
- Insulation that appears settled but measures full depth. Rockwool doesn’t settle like fiberglass, so if your batts look thin at the edges, they’re likely water-logged from condensation cycling. The hydrophobic fibers repel liquid water but can’t stop the weight of ice formation from compressing the structure.
- Energy bills climbing despite unchanged thermostat settings. Wet or misplaced vapor barrier effectively reduces your R-value by 30-40% through conductive heat loss. We document this with blower-door tests; one Stevenson Ranch job read 3,800 CFM50 before barrier correction and 2,400 after, with no insulation added.
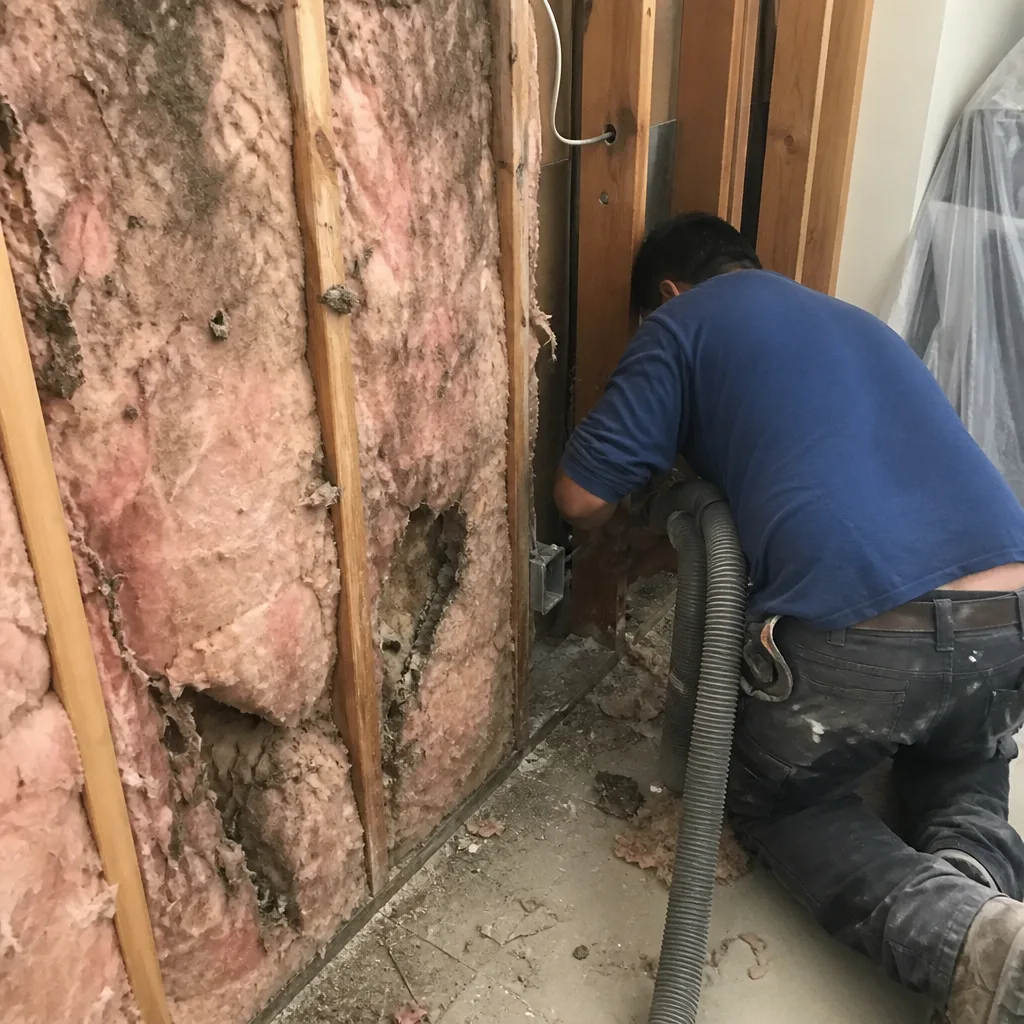 Before
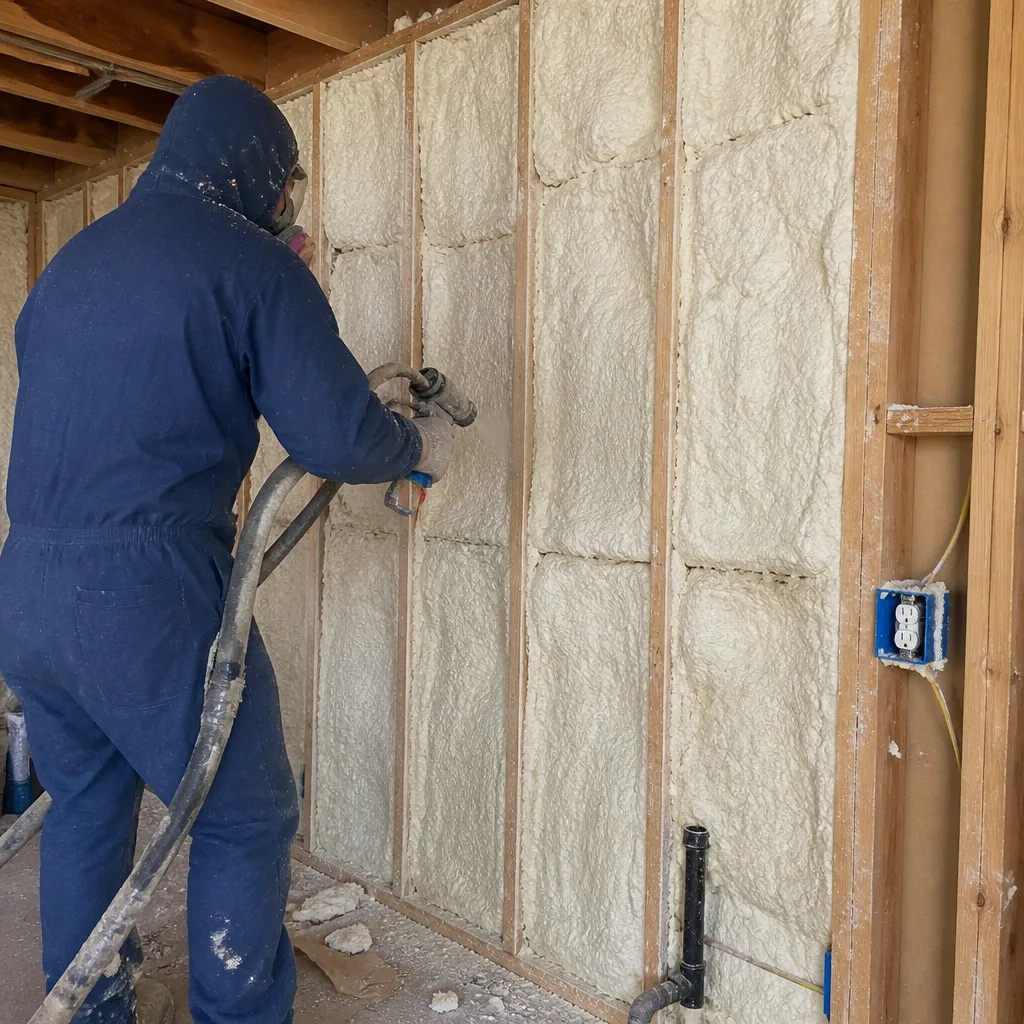 After
AfterReplacement Cost & What’s Included
Most complete Rockwool vapor barrier replacements in Santa Clarita fall between $1,800 and $3,400. The lower end covers a straightforward attic with clear access, intact existing Rockwool batts that can be temporarily moved and replaced, and standard joist spacing. The upper end applies to complex rooflines with multiple dormers, cathedral ceilings requiring interior access, or homes where the original barrier was installed wrong-side-out and has trapped moisture in the assembly.
Every quote breaks down line-item: material (barrier type, square footage, tape and fasteners), labor (access, removal of compromised barrier, installation, batt repositioning), and air sealing of top plates and penetrations before the new barrier goes in. We don’t blow insulation over a failed vapor barrier. Under Haven Standard Clause 1, you get the written price before anyone starts, a 365-Day Done Right Promise, and a Documented Photo Record showing the barrier placement and sealed penetrations. Before-and-after blower-door numbers are included on every job where access allows the test.
DIY or Call Us?
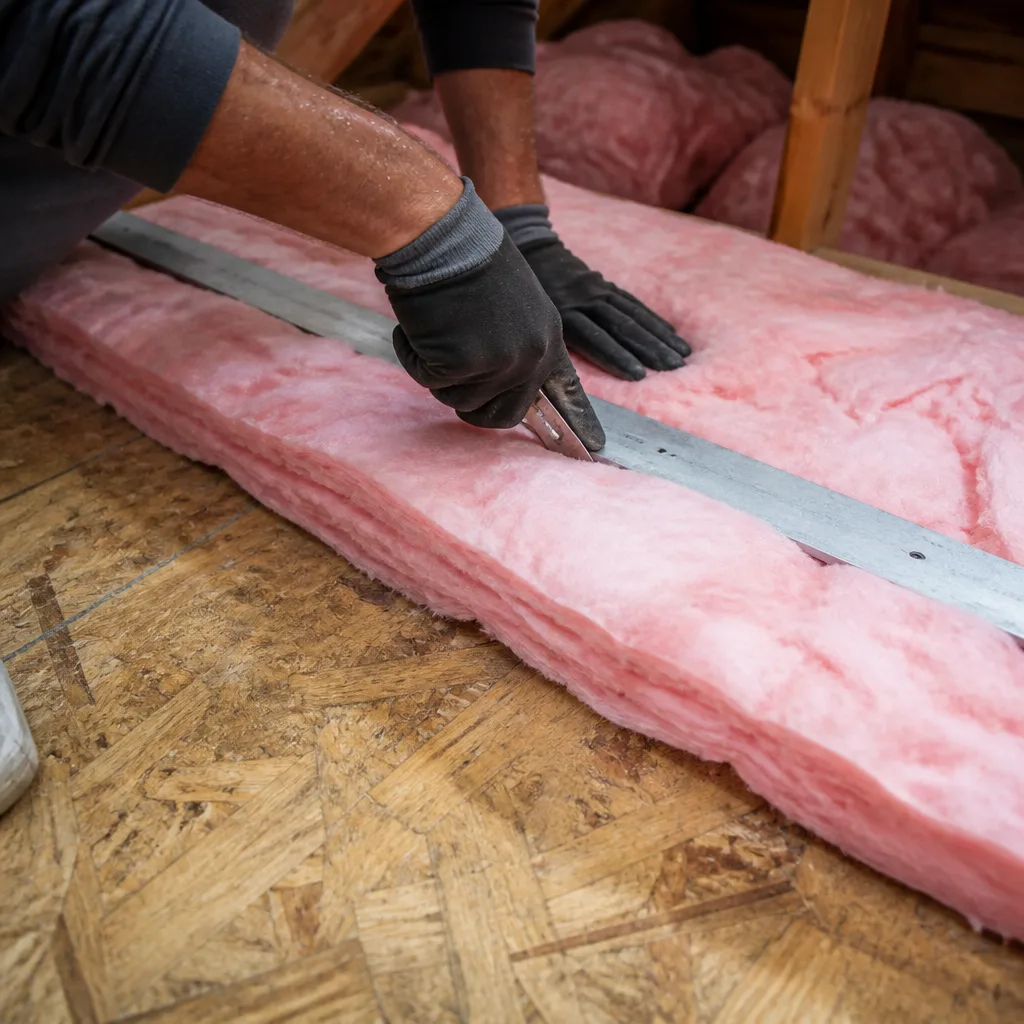
There’s a safe middle ground here. A homeowner can verify which side the existing barrier faces, check for obvious tears or light penetration through pinholes, and measure attic square footage for material estimation. What you cannot safely do: work in an unventilated attic during Santa Clarita’s summer heat, handle degraded facing that may contain older asphalt-impregnated paper, or correctly detail the barrier around electrical penetrations and chimney chases where fire-rated sealants are required.
The most common DIY failure we correct is running the barrier continuously across the attic floor without slitting it over top plates to maintain the thermal boundary. It looks neat, but it creates a double vapor barrier that traps moisture in the wall cavity. If you’re unsure whether your existing installation was done correctly, call (747) 294-2764. We’ll read your situation with you, no charge for the conversation.
FAQs
Properly installed FSK facing lasts 20-30 years in Santa Clarita’s dry climate, though attic temperatures above 150°F in summer accelerate adhesive degradation. We inspect barrier condition during every energy audit and flag pinholing or delamination before it becomes a moisture problem. Call (747) 294-2764 to schedule a look - estimates are free.
Small punctures (under 2 inches) can be patched with foil tape rated for high-temperature applications, but widespread degradation, wrong-side installation, or delamination from the batt requires full replacement. We don’t patch over systemic failure; the labor to do it right twice exceeds the cost to do it once. Call (747) 294-2764 for an exact scope and written price.
A typical Santa Clarita attic (1,200-2,000 square feet) takes one crew day to remove compromised barrier, seal air leaks, and install new material. Complex jobs with limited access or cathedral ceilings may run into a second day. We confirm the schedule in your written scope before work starts - no callback windows measured in business days.
We stock Rockwool-compatible FSK and equivalent laminated kraft barriers on every truck, along with the fire-rated sealants and specialized tape the installation requires. For uncommon Rockwool commercial specifications, we source within 24-48 hours through our supplier network. Call (747) 294-2764 to confirm availability for your specific model line.
Topside Attic Insulation Santa Clarita is an independent service provider, not affiliated with Rockwool. We also stock parts for Reflectix systems.
Wes Okafor grew up in Chicago’s South Side and trained in building science and weatherization at Washburne Trade School before bringing that knowledge west. His crew has sealed and insulated attics across Santa Clarita, from Stevenson Ranch ranches to older two-stories near Valencia Town Center. The report goes home with you. The numbers don’t lie, and you shouldn’t have to take anyone’s word for it.
Ready to get your Rockwool system properly protected? Call (747) 294-2764 for a free estimate with a written price before any work starts.
Written by Wes Okafor, Owner, Topside Attic Insulation Santa Clarita at Topside Attic Insulation Santa Clarita, serving Santa Clarita and nearby areas.