
Icynene Vapor Barrier Installation: The Santa Clarita Owner’s Guide
Most Icynene vapor barrier installations in Santa Clarita run between $1,800 and $3,400 for a standard crawl space or attic application, depending on square footage and whether the existing barrier needs full removal. We stock Icynene-compatible polyethylene and reinforced vapor barrier membranes on every truck, and we can typically inspect and quote same-day. Homeowners usually discover the problem during a home inspection, after noticing musty odors in Valley-floor neighborhoods like Newhall or Saugus, or when their energy bill spikes despite unchanged thermostat settings.
Which Icynene Models This Applies To
Icynene’s vapor barrier systems aren’t tied to a single spray foam model line, they’re specified by application: LD-C-50 open-cell and MD-C-200 closed-cell foams both require compatible vapor barrier placement to maintain their warranty performance. The critical match is between the barrier’s perm rating and the foam’s specified assembly. Icynene assemblies typically call for a Class I vapor retarder (0.1 perm or less) in Santa Clarita’s dry climate zone, though homes in shaded canyon pockets like Sand Canyon may need adjusted placement due to cooler substrate temperatures.
To identify what you’re working with, check the spray foam’s ICC-ES evaluation report number, stamped on the substrate or noted in your original installation paperwork. The vapor barrier must carry a matching ASTM E96 report. We carry both OEM Icynene-specified barriers and equivalent Johns Manville and CertainTeed membranes that meet the same perm ratings at lower cost. One compatibility gotcha: Icynene’s early 2010s formulations, common in Valencia infill builds from that era, specified a 6-mil minimum thickness that later increased to 10-mil in revised technical bulletins. Using the older spec on a newer assembly voids the system warranty.
Signs Your Icynene Vapor Barrier Installation Is Failing
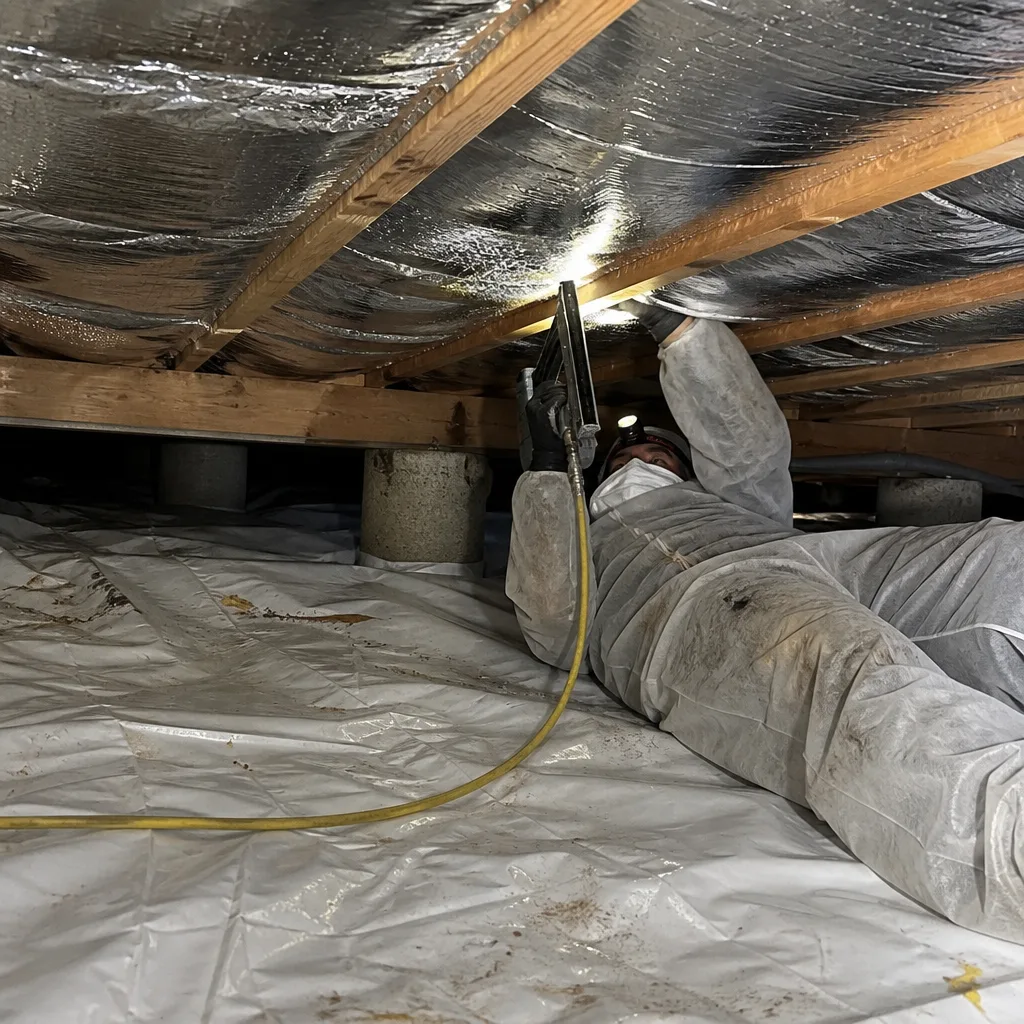
- Condensation pooling on the barrier surface. This means the vapor barrier was installed on the wrong side of the assembly for the season, or the seams weren’t sealed with compatible tape. In Santa Clarita’s summer heat, a reversed barrier traps moisture against the foam and creates visible droplets by August.
- Musty smell rising from crawl space vents. The barrier has torn at a seam or penetration, letting soil moisture migrate upward. We see this most often in older Canyon Country homes where the original 6-mil poly has degraded from UV exposure through foundation vents.
- Visible mold on the Icynene foam surface. Mold doesn’t grow on clean foam, it grows on the organic dust that collects where moisture is present. This indicates the barrier has been compromised for at least one full season, often longer.
- Soft or discolored spots in the barrier membrane. Rodent activity or abrasion from stored items has punctured the material. The 10-mil reinforced product we install resists this better than standard 6-mil, but nothing survives a determined roof rat.
- Energy bills climbing without explanation. A failed vapor barrier allows moisture to degrade the foam’s thermal performance and can create air bypasses at the rim joist. The blower-door number doesn’t lie, we’ll show you the before-and-after.
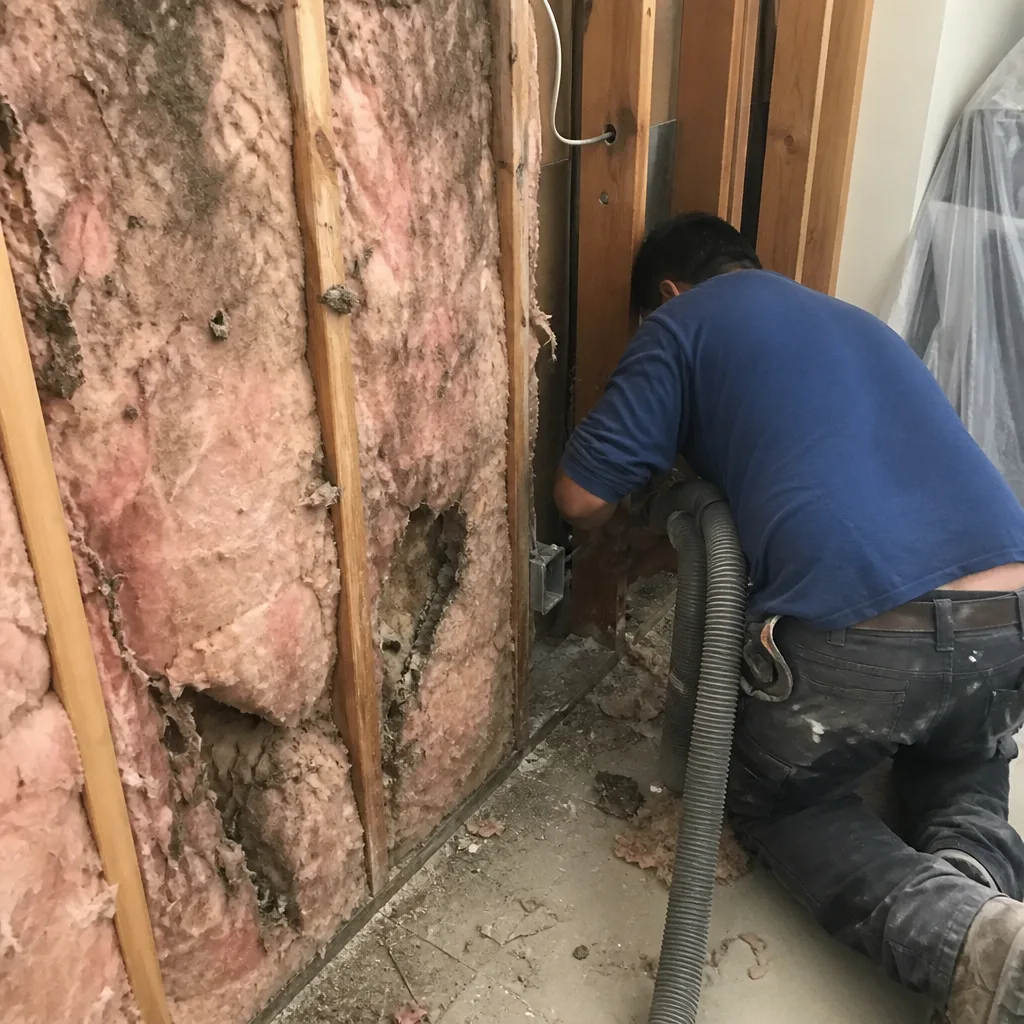 Before
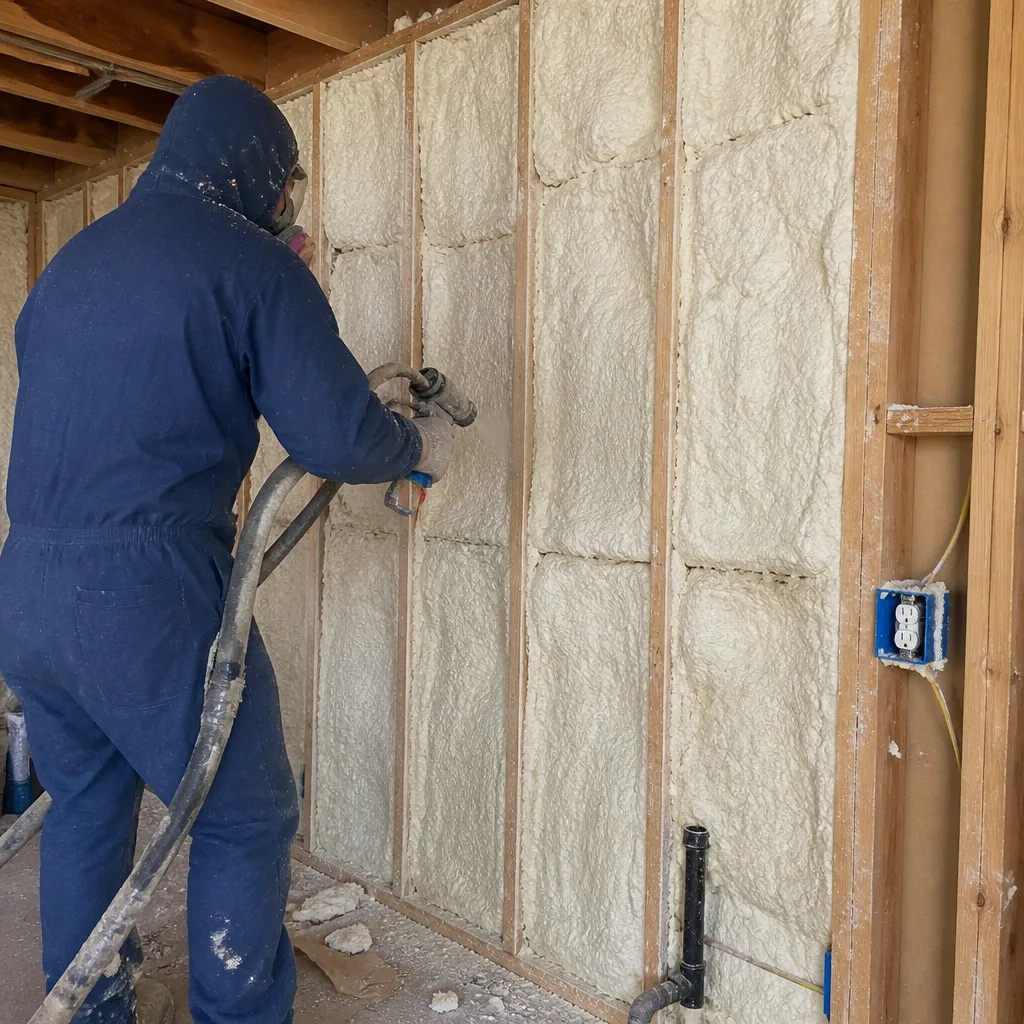 After
AfterReplacement Cost & What’s Included
| Scope | Price Range |
|---|---|
| Standard crawl space (1,000-1,500 sq ft), barrier only | $1,800 - $2,600 |
| Full removal of failed barrier + new 10-mil reinforced install | $2,400 - $3,400 |
| Attic application with complex penetrations | $2,800 - $4,200 |
| Seam sealing and tape detail (per linear foot) | $3.50 - $5.00 |
What drives the range: accessibility (crawl height, debris clearance), whether the old barrier is friable and requires HEPA containment, and how many penetrations need booting. Every quote is a Written Price Before Any Work Starts, flat and itemized. The 365-Day Done Right Promise covers labor and materials, and you’ll receive a Documented Photo Record of the completed installation plus, on applicable jobs, before-and-after blower-door readings showing the air-sealing result.
DIY or Call Us?
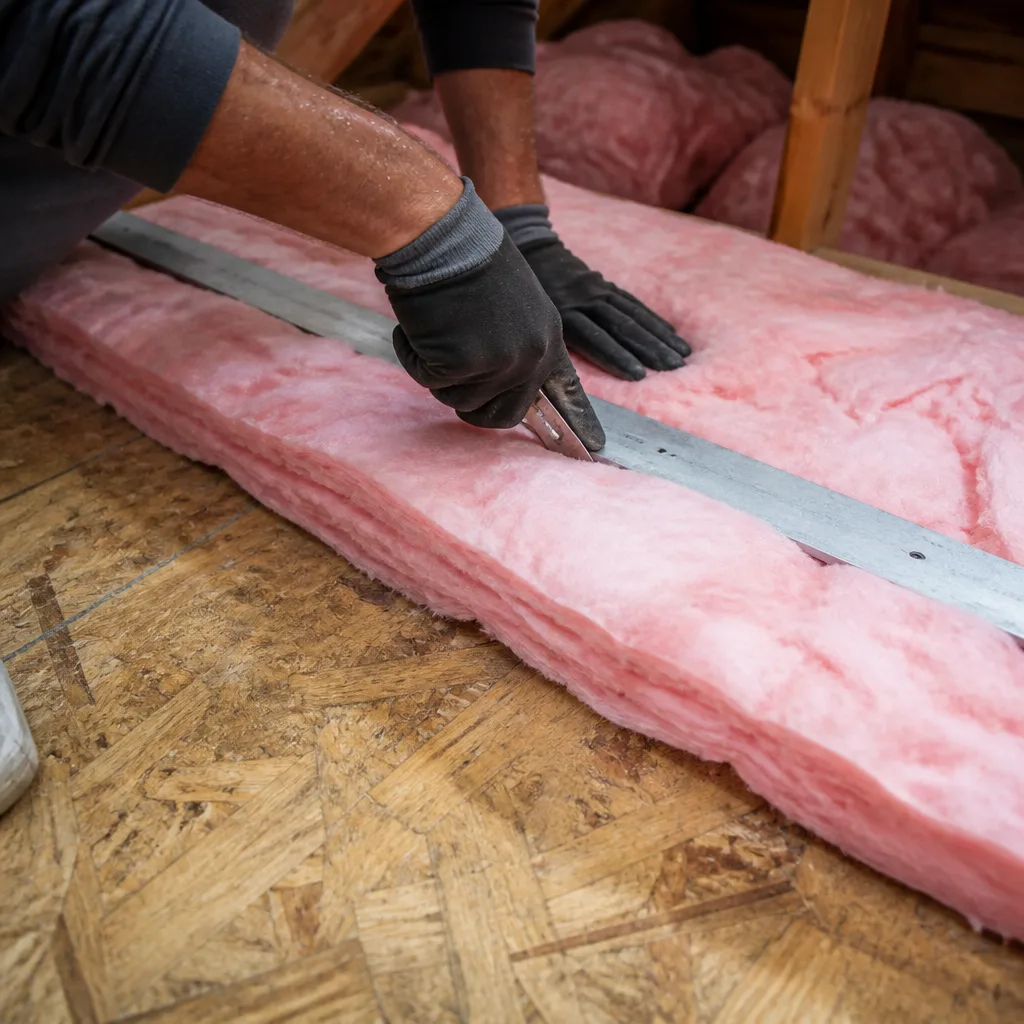
There’s no high-tension danger here, but there is a performance danger: a vapor barrier that looks fine and functions poorly. A homeowner can safely check for visible tears, measure remaining thickness with a micrometer, and verify whether seams are taped with pressure-sensitive adhesive rated for polyethylene. What goes wrong in DIY is the building science: placing the barrier on the wrong side of the assembly for the climate zone, using duct tape instead of ASTM-rated seam tape, or overlapping seams without the 6-inch minimum that prevents wicking. We’ve removed three DIY barriers this year in Santa Clarita alone, all installed with good intentions and the wrong materials. Call (747) 294-2764 and we’ll read your existing setup with you, no charge for the assessment.
FAQs
A properly installed 10-mil reinforced barrier typically lasts 15-20 years in Santa Clarita’s dry climate, though UV exposure through unscreened foundation vents can cut that to 8-10 years in practice. The barrier itself doesn’t fail from age, it fails from abrasion, rodent damage, or tape adhesive degradation at seams. Call (747) 294-2764 for an exact condition assessment, estimates are free.
Patching works for isolated punctures smaller than a quarter using compatible polyethylene tape and primer, but widespread seam failure or UV-degraded material means full replacement. A patched barrier with multiple failure points will leak at the weakest seam, and you’ll pay for the patch plus the replacement six months later. We don’t patch and pray, we document what we find and quote the honest fix.
Most residential crawl spaces in Santa Clarita take one day for removal and replacement, attics with complex penetrations may run into a second day. We arrive with the material on the truck, so there’s no supply delay. You’ll get a text when the crew is en route, and the Documented Photo Record is emailed before we leave the driveway.
Yes, we carry 10-mil reinforced polyethylene and cross-laminated vapor barrier membranes on every truck, in widths from 12 to 20 feet to minimize seams. Topside Attic Insulation Santa Clarita is an independent service provider, not affiliated with Icynene, but we source materials that meet or exceed their published specifications from Owens Corning, Johns Manville, CertainTeed, and Icynene’s own distribution channel. The report goes home with you. The numbers don’t lie, and you shouldn’t have to take anyone’s word for it.
Ready to get it fixed right? Call (747) 294-2764 for a free written estimate. A live person answers 24/7, and under Haven Standard Clause 1, you’ll have your flat price and written scope before anyone lifts a tool.
Written by Wes Okafor, Owner, Topside Attic Insulation Santa Clarita at Topside Attic Insulation Santa Clarita, serving Santa Clarita and nearby areas.