
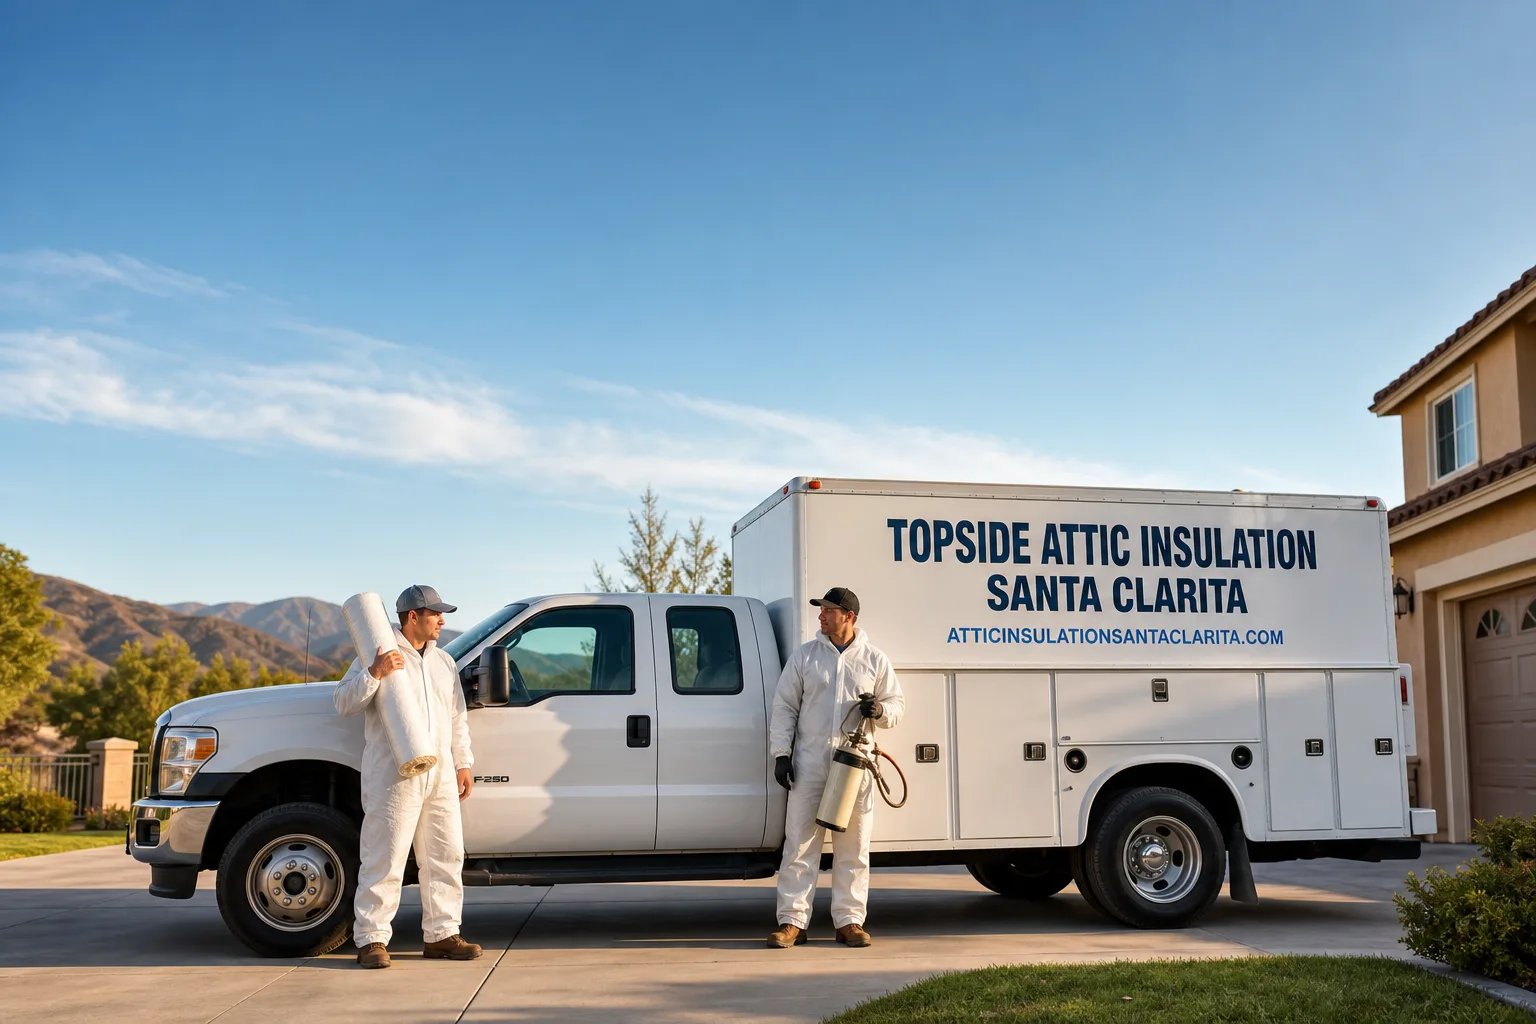
How Much Does Radiant Barrier Installation Cost in Santa Clarita?
Our Radiant Barrier Installation services in Santa Clarita typically cost between $1,400 and $3,200 for a single-story home with a standard attic, with most jobs landing around $1,800 to $2,400 when the attic is accessible and the roof deck is clean. Larger two-story homes or those with complex rooflines, finished attic sections, or existing insulation that needs to be worked around can push the total toward $3,500 or more. These ranges reflect actual jobs completed in the Santa Clarita Valley in 2025 and early 2026 – not national averages pulled from a database.
Radiant Barrier Installation Cost Breakdown (2026)
Radiant barrier pricing has a few distinct components, and knowing what each one costs separately helps you read any written estimate with confidence. Here is how the numbers typically break down for Santa Clarita homes:
| Line Item | Typical Range (Santa Clarita, 2026) | Notes |
|---|---|---|
| Radiant barrier material (foil sheet or spray) | $0.18 – $0.45 per sq ft | Foil-faced sheeting is standard; spray-applied aluminum is higher-end |
| Labor – standard accessible attic | $0.55 – $1.10 per sq ft | Staple-up application to roof deck rafters; flat-rate per sq ft is common |
| Labor – complex or restricted attic | $1.00 – $1.80 per sq ft | Low-pitch roofs, hip roofs, or attics with HVAC equipment in the way |
| Attic prep and debris clearing | $150 – $450 | Required when existing insulation blocks rafter access |
| Ventilation assessment and correction | $200 – $600 | Ridge and soffit venting must be adequate before a radiant barrier works as intended |
| Full job – 1,200 sq ft footprint home | $1,400 – $2,000 | Single-story, gable roof, standard accessibility |
| Full job – 1,800 sq ft footprint home | $1,900 – $2,700 | Typical for Canyon Country or Saugus tract homes |
| Full job – 2,400+ sq ft footprint home | $2,600 – $3,500+ | Valencia master-planned homes, two-story with complex hip rooflines |
A few things push these numbers in either direction. Santa Clarita’s climate is a significant factor: the valley sits in a low-desert transitional zone where summer attic temperatures routinely hit 150-165°F between June and September, particularly in neighborhoods like Newhall and Canyon Country where dark tile roofs absorb heat aggressively. That kind of heat load means radiant barriers here actually perform – which is why demand (and therefore labor rates) tracks slightly higher than in coastal LA markets. On the other hand, most Santa Clarita homes built after 1995 have gable or standard hip rooflines that give crews good working height, which keeps labor efficient. Homes in Stevenson Ranch with steeper pitches or those in Sand Canyon with irregular additions can require more crew time and more custom cutting of foil sheets around obstructions.
Material choice also matters. A basic perforated foil-faced radiant barrier – the standard for most Santa Clarita attic installations – is the most cost-efficient option and performs well when stapled to the underside of roof deck rafters. Spray-applied aluminum products cost more per square foot but are occasionally preferred in attics where running foil sheets around trusses and HVAC ducts would take significantly longer. Under the Haven Standard, you receive a written scope that specifies the exact product being installed before anyone enters your attic, so there are no material substitutions after the fact.
What Affects Radiant Barrier Installation Pricing in Santa Clarita
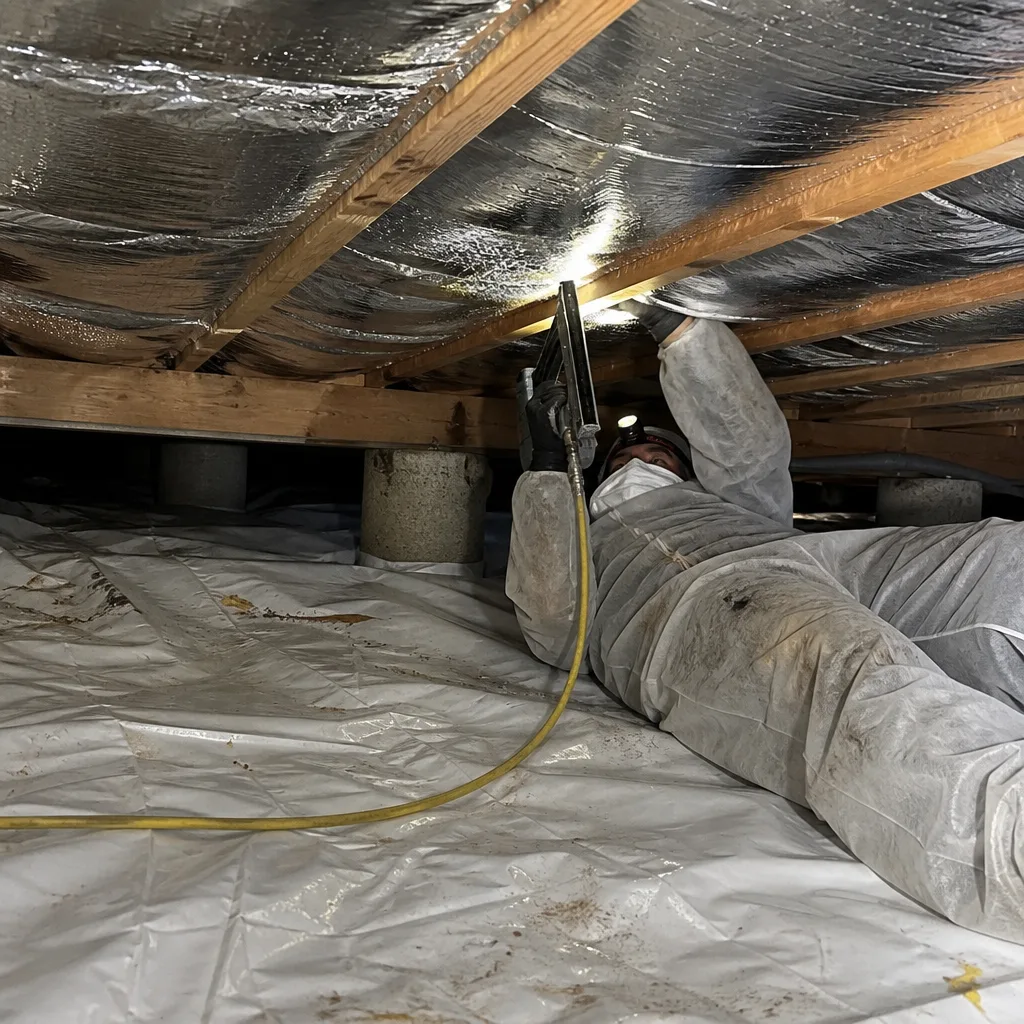
- Attic square footage and footprint shape: The most direct driver. A 1,200 sq ft footprint home in Newhall costs less than a 2,500 sq ft two-story in Valencia simply because there is less roof deck to cover. Irregular footprints – L-shaped homes, additions, detached garages with shared attic space – add cutting time and material waste.
- Roof pitch and attic headroom: Santa Clarita has a mix of low-pitch ranch-style homes from the 1970s (especially in older Newhall and Saugus neighborhoods) and steeper-pitch Spanish tile roofs on 1990s-2000s tract homes in Valencia and Stevenson Ranch. Low-pitch attics with less than 18 inches of working clearance near the eaves slow installation significantly and are priced accordingly.
- Existing insulation depth: If blown-in insulation already sits on the attic floor at R-30 or above, crews can still install a rafter-level radiant barrier without disturbing it. But if insulation has drifted into soffit baffles or blocks access to the perimeter plates, prep work adds cost. This is documented in the written scope before work starts.
- HVAC equipment and ductwork in the attic: A large portion of Santa Clarita homes – particularly those built in master-planned Valencia between 1990 and 2010 – have air handlers, secondary furnaces, and full duct systems running through the attic. Routing foil sheets around this equipment adds labor time and increases the number of seams that need to be properly overlapped and sealed to maintain reflective performance.
- Ventilation condition: A radiant barrier works by reflecting radiant heat, but it depends on an air gap and adequate ventilation to exhaust the heat that does accumulate. Homes with blocked soffit vents – common after re-landscaping or stucco repairs – or insufficient ridge ventilation will see reduced performance unless ventilation is corrected first. Addressing ventilation adds cost upfront but is the difference between a radiant barrier that earns its keep and one that underperforms.
- Access complexity and attic hatches: Standard pull-down stair access makes installation straightforward. Homes with small fixed-panel hatches, hatches located in closets, or hatches that open into restricted zones add crew setup time. Some Santa Clarita custom homes in Sand Canyon have access points that require temporary hatch enlargement, which is a separate line item.
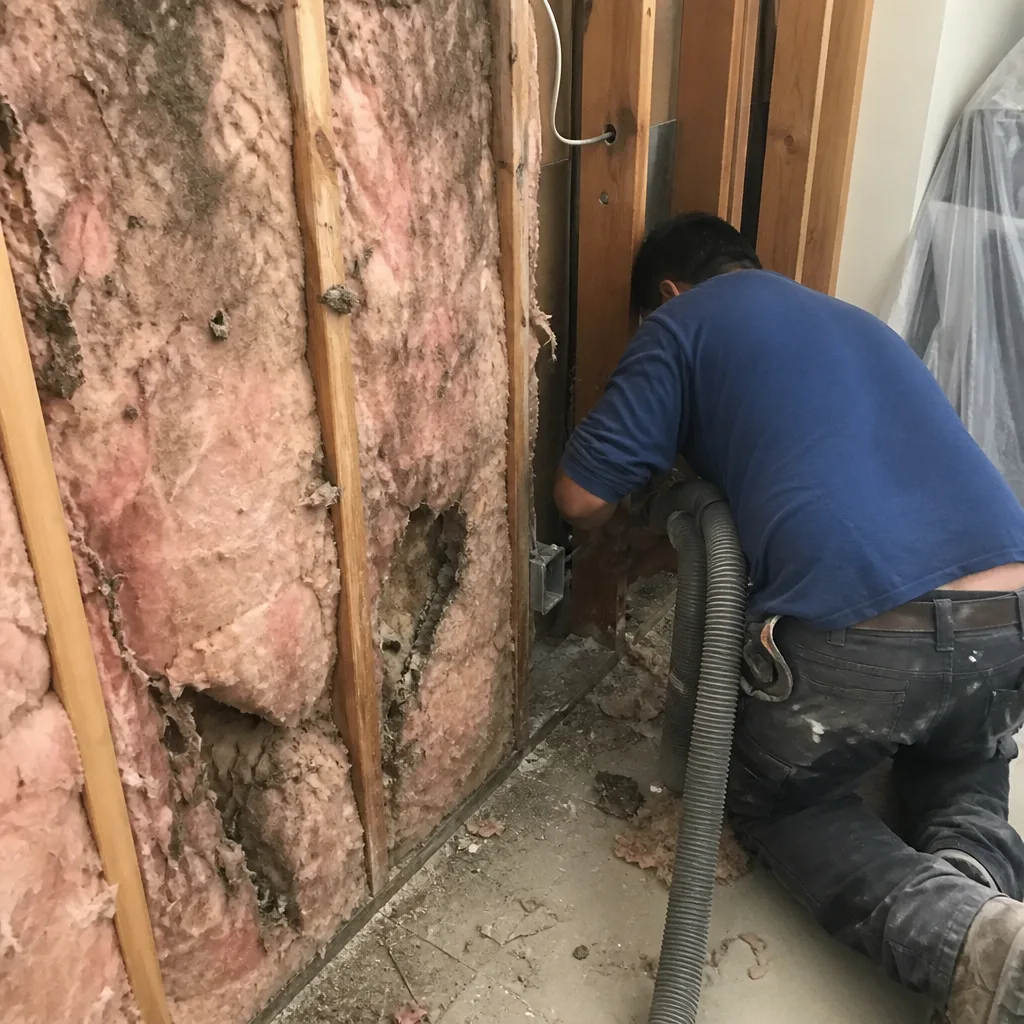 Before
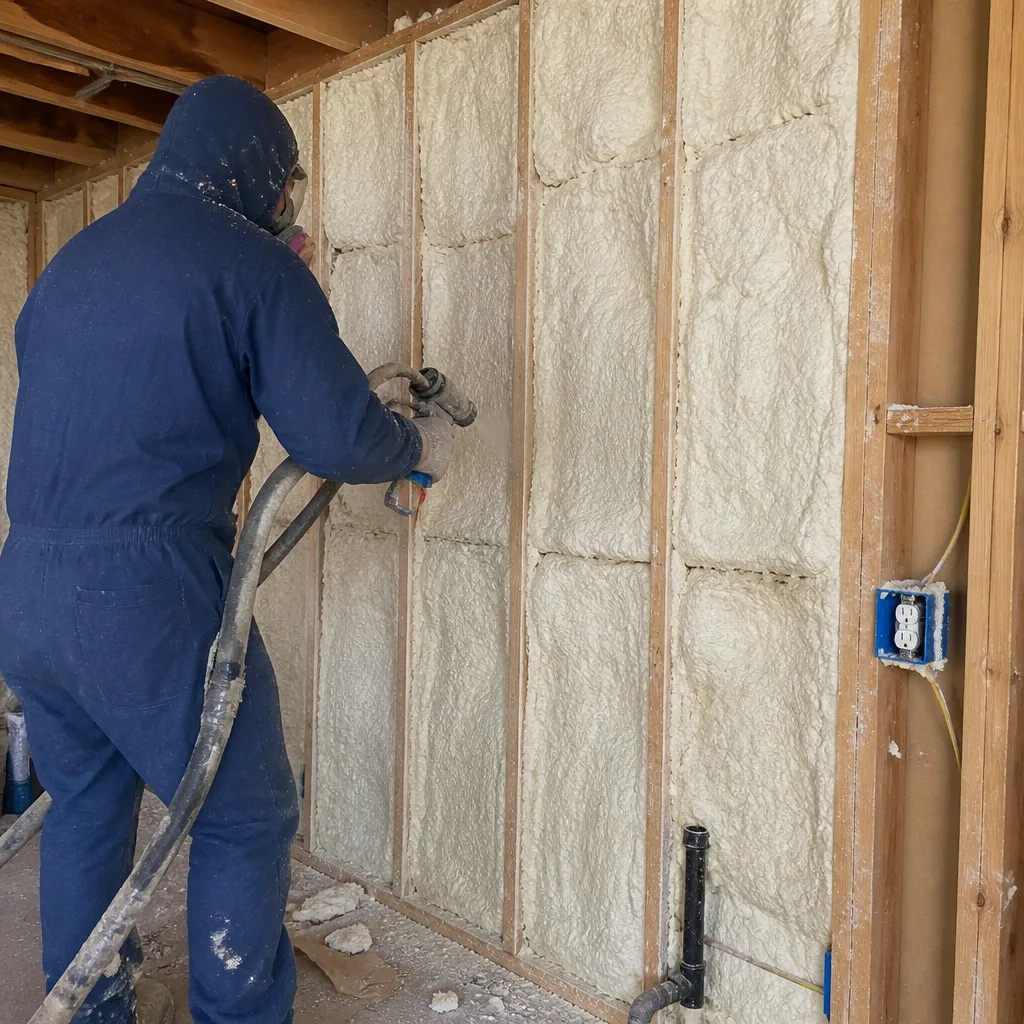 After
AfterHow to Save on Radiant Barrier Installation
The most reliable way to reduce total cost is to bundle radiant barrier installation with attic air sealing. These two services use the same access point, the same crew, and in many cases the same scheduling window. Attic air sealing – closing top-plate gaps, penetrations from plumbing and electrical, and recessed light housings – is something Envelope Insulation Co. treats as a hard prerequisite on any insulation job, because adding insulation or a radiant barrier over unsealed penetrations leaves the biggest source of conditioned-air loss untouched. When both are scoped together, mobilization costs are absorbed once instead of twice, and total project pricing is typically 15-20% lower than scheduling them as two separate visits.
If you already have a written quote from another contractor, bring it in. Under the Haven Standard, we offer a free second opinion on any written estimate – we will read it with you, line by line, and tell you whether the scope is complete, whether the product being specified is appropriate for a Santa Clarita attic, and whether the price is consistent with current market rates. There is no obligation, and you keep the quote regardless.
A few other practical points worth knowing:
- Get a written price before any work starts – not a ballpark, a flat price with a written scope. Under Haven Standard Clause 1, that is the only way we work. Any contractor who cannot give you a written price before the crew enters your attic is leaving room for costs to change after you have committed.
- Ask about utility rebates. Southern California Edison occasionally offers rebates for qualifying attic upgrades in the Santa Clarita area. The amounts change year to year, but a good contractor will flag the current programs in your estimate rather than leaving you to find them independently.
- Check that ventilation correction (if needed) is included in the scope. An underventilated attic is the most common reason a radiant barrier underperforms, and discovering that the vents need work after installation means a second visit and a second bill.
- Schedule in spring (March through May) or fall (September through October). Summer bookings are heaviest in Santa Clarita because that is when homeowners feel the problem most acutely. Scheduling outside peak season sometimes allows for faster project windows, though pricing is not artificially inflated during summer – the rate reflects the job, not the calendar.
For a written price specific to your home’s attic, call (747) 294-2764. Estimates are free, and you receive a flat price with a written scope before any work is scheduled.
Is Radiant Barrier Installation Worth It in Santa Clarita?
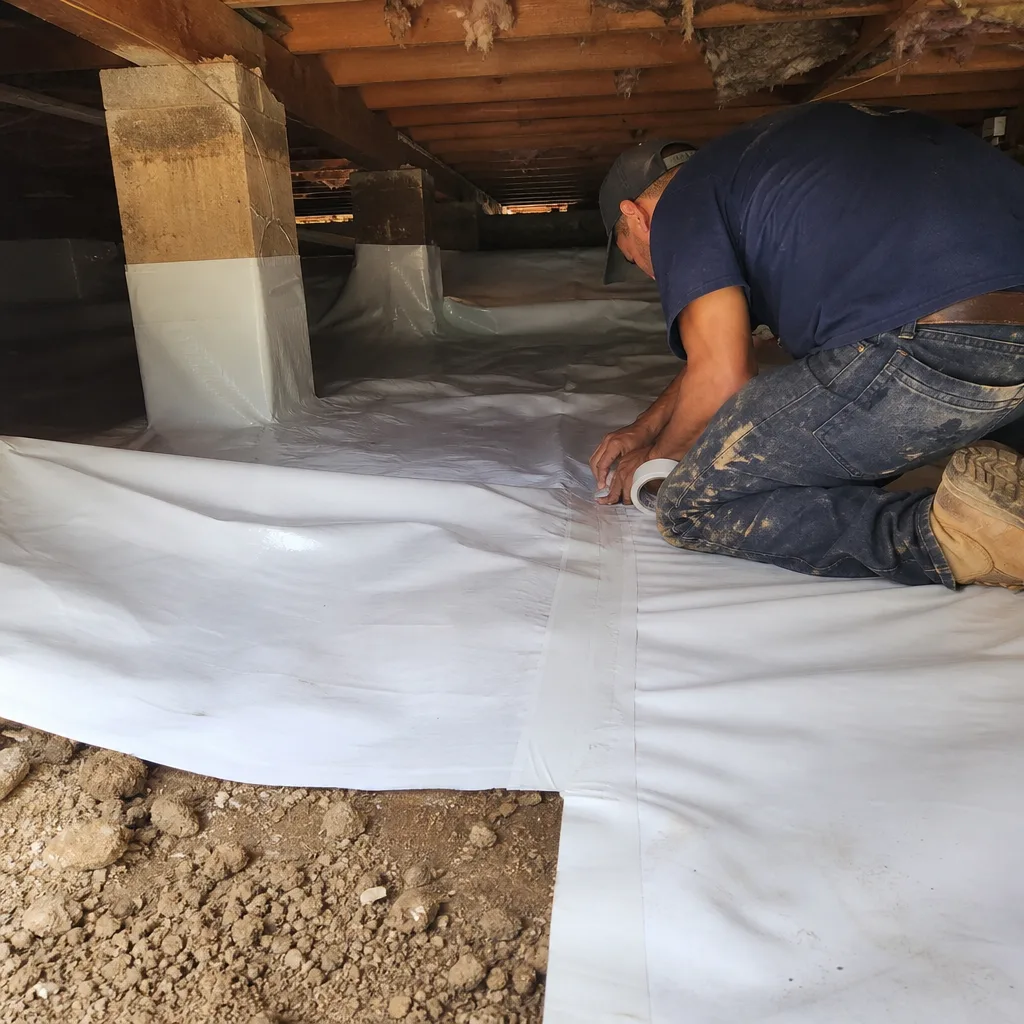
This is a fair question to ask before spending $1,800 to $3,200, and it deserves a direct answer rather than a vague gesture toward “energy savings.”
Santa Clarita sits in IECC Climate Zone 10 – the hottest residential climate zone in the continental United States. Average July highs in the Santa Clarita Valley run between 97°F and 102°F, and attic temperatures under an unshielded dark tile roof can reach 155-165°F during a typical afternoon. At those temperatures, the radiant heat load pushing down through your ceiling into conditioned space is substantial. Studies from Florida Solar Energy Center (the most cited independent source on radiant barriers in residential attics) show 7-17% reductions in cooling load in hot-climate attics with adequate ventilation – the lower end in attics that already have high insulation levels, the higher end in attics that are under-insulated.
In practical terms: a Santa Clarita home that runs a 4-ton central air system and pays $280-$380 per month in summer electricity bills might see $30-$60 in monthly reduction from a well-installed radiant barrier combined with proper ventilation. That is a payback period of 3-6 years on a $1,800-$2,400 installation, not counting the comfort improvement in second-floor rooms that run persistently warm in July and August. Homes in Saugus and Canyon Country with west-facing second-story bedrooms that become unusable in summer afternoons are the clearest candidates.
What a radiant barrier does not do: it does not replace insulation, and it does not compensate for a leaky building envelope. That is why the sequence matters. Air sealing first, then insulation assessed and corrected to the right R-value for the climate zone, then a radiant barrier on top of that system. In that order, the three components work together. Installed in isolation, a radiant barrier on an attic with 2-inch gaps around top plates and inadequate R-value underperforms relative to what the price range suggests it should deliver.
For a fuller look at what the installation process includes and what Envelope Insulation Co. documents at each step, see our Radiant Barrier Installation in Santa Clarita service page.
Radiant Barrier vs. Adding More Attic Insulation: Which Comes First?
This is a question that comes up on nearly every attic assessment in Santa Clarita, and the answer depends on what you currently have. If your attic insulation is below R-30 – which is common in pre-1990 homes in Newhall and older sections of Canyon Country – increasing insulation depth to at least R-38 (the California Title 24 minimum for this climate zone) will generally deliver a larger reduction in heat gain than a radiant barrier alone. Insulation slows conductive heat transfer; a radiant barrier slows radiant heat transfer. Both are real and measurable mechanisms, but insulation at the right R-value is foundational.
Once insulation is at or above R-38 and the attic floor is air-sealed, a radiant barrier addresses the remaining radiant load – and in Santa Clarita’s summer climate, that remaining load is large enough to justify the cost. For homes already at R-38 or above, a radiant barrier is typically the higher-leverage next investment. For homes below that threshold, the written scope we deliver will flag the insulation gap and present both options with prices so you can make an informed decision – not a sales pitch.
What You Receive When the Job Is Done
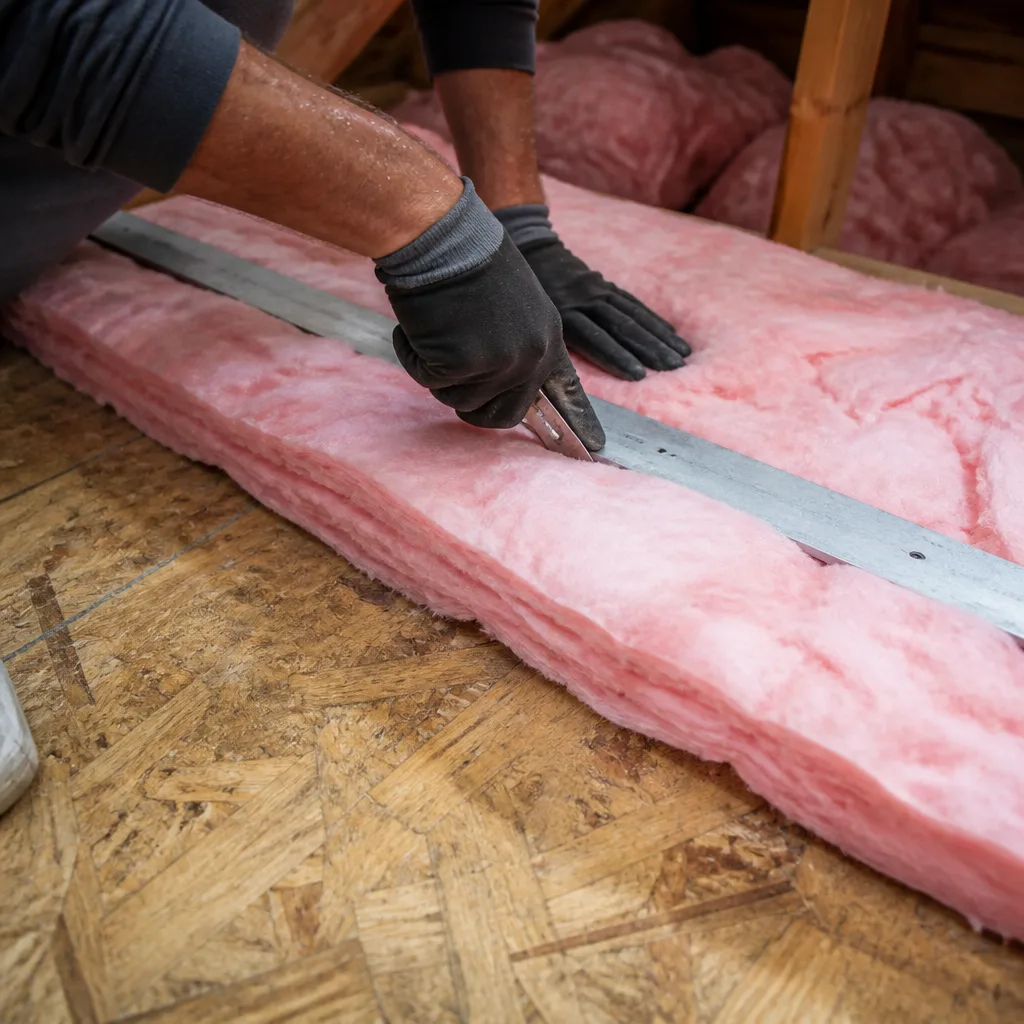
This section matters because “it’s installed” is not the same as “it’s documented.” Under the Haven Standard, every Envelope Insulation Co. job closes with a Documented Photo Record showing the attic before installation began and after it was completed. For jobs that include air sealing, before-and-after blower-door readings – a pressurization measurement that shows, in one number, how much conditioned air the home was losing before and after the work – are provided so you can verify the result in a format that is not dependent on taking anyone’s word for it.
For radiant barrier installations specifically, the documentation includes:
- Photos of the roof deck before installation (showing existing conditions, any ventilation issues noted, and insulation depth if relevant)
- Photos of the completed radiant barrier showing overlap seams, perimeter coverage, and any areas around HVAC equipment or penetrations
- The written scope from the estimate, confirmed as delivered
- The written warranty covering the 365-Day Done Right Promise
- Notes on any ventilation corrections made or recommended
You receive this whether you ask for it or not. It is included on every visit – not available on request, not an upgrade tier. The reason is simple: a written record of what was done is the only way either party can verify the work if a question comes up six months later. That is Haven Standard practice, and it applies to every job regardless of size.
How Santa Clarita’s Climate Makes Radiant Barriers More Effective Than in Most California Markets
Most of coastal Los Angeles County – Beverly Hills, Culver City, Torrance – has a marine-influenced climate where summer attic temperatures rarely exceed 120°F and cooling seasons are relatively short. Radiant barriers in those markets are a modest improvement. Santa Clarita is a different situation.
The Santa Clarita Valley is inland, sheltered from marine influence by the Santa Susana Mountains and the San Gabriel range, and subject to hot, dry summers with frequent Santa Ana wind events in fall that can drive attic temperatures up sharply even in October. Canyon Country and Saugus face consistent afternoon sun exposure with limited shade from mature trees (most tract development in these neighborhoods is less than 30 years old). The result is that Santa Clarita attics are among the highest heat-load residential attics in Southern California – which is precisely the environment where a radiant barrier delivers its best return.
We see this reflected in the jobs we document. Attics in Canyon Country on homes with dark concrete tile roofs regularly read above 155°F on a July afternoon. After a foil-faced radiant barrier is installed at the rafter level with proper overlap seaming and intact ridge and soffit ventilation, surface temperatures on the attic floor insulation drop measurably – the thermal mass below is no longer absorbing a direct radiant load from a 155°F roof deck. That reduction translates directly to reduced runtime for air conditioning equipment and more stable temperatures in second-floor rooms.
FAQs – Radiant Barrier Installation Cost in Santa Clarita
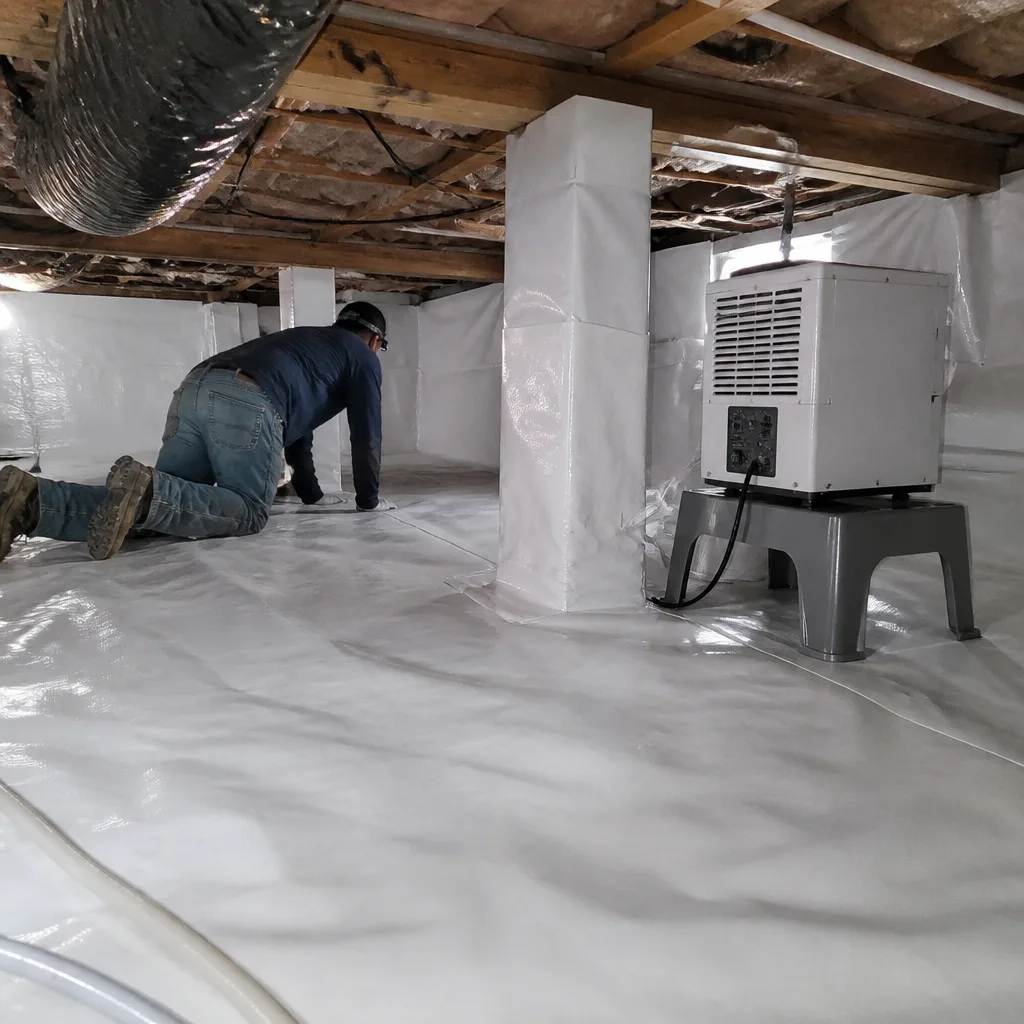
How much does radiant barrier installation cost in Santa Clarita?
Most radiant barrier installations in Santa Clarita run between $1,400 and $3,200, with the typical single-story home with a standard accessible attic falling in the $1,800-$2,400 range. Two-story homes or those with complex rooflines and HVAC equipment in the attic can reach $3,500 or more. These figures reflect current labor and material rates in the Santa Clarita Valley as of early 2026. For a flat price specific to your home, call (747) 294-2764 – the estimate is free and the price is written before any work is scheduled.
How long does radiant barrier installation take?
Most single-story Santa Clarita homes take one full day – typically 5 to 8 hours for a crew of two. Larger homes or those with restricted attic access, hip rooflines that require more custom cutting, or significant HVAC equipment to route around can take a day and a half. The written scope you receive before work starts will specify the estimated installation window so you know what to expect before the crew arrives.
Does a radiant barrier really reduce cooling costs in Santa Clarita?
In Santa Clarita’s climate, yes – measurably. Research from the Florida Solar Energy Center shows 7-17% reductions in cooling load for hot-climate attics with proper ventilation and a correctly installed radiant barrier. For a Santa Clarita home with a well-ventilated attic already insulated to R-38 or above, the realistic expectation is a 10-15% reduction in summer cooling energy. Homes that are currently under-insulated will see a larger combined benefit when insulation and a radiant barrier are addressed together. The performance improvement is documented in the Documented Photo Record we leave at the end of every job.
Is a permit required for radiant barrier installation in Santa Clarita?
In most cases, no permit is required for radiant barrier installation in the City of Santa Clarita or in the unincorporated LA County areas of the Santa Clarita Valley (including portions of Canyon Country and Newhall). Radiant barrier installation is typically classified as a maintenance or improvement to existing insulation systems rather than a structural or mechanical alteration. However, if the scope includes ventilation corrections – adding ridge venting, enlarging soffit openings – those elements may require a permit depending on the scope. Your written estimate will identify whether a permit is needed for the specific work being done.
Can a radiant barrier be installed over existing attic insulation?
Yes – radiant barriers are installed at the rafter level (on the underside of the roof deck), not on the attic floor, so existing blown-in or batt insulation on the attic floor stays in place. The foil is stapled to the rafters, creating a reflective surface that faces the air gap below the roof deck. The only situation where existing insulation complicates installation is when it has drifted into the perimeter eave zones and blocks crew access to the rafter ends near the soffit baffles. That is assessed during the pre-work walkthrough and noted in the written scope with any associated prep cost before work begins. For any questions about your specific attic, call (747) 294-2764.
What is the difference between a radiant barrier and reflective insulation?
A radiant barrier is a single layer of highly reflective foil – typically aluminum with a perforated face to allow moisture vapor to pass through – installed with an air gap on at least one side. It reflects radiant heat; it does not slow conductive heat transfer. Reflective insulation is a composite product that sandwiches a layer of foam or bubble material between two foil faces, giving it both a small amount of R-value (conductive resistance) and a reflective surface. In Santa Clarita attics, a dedicated radiant barrier installed at the rafter level outperforms a reflective insulation product laid on the attic floor because the air gap above the rafter-level foil allows the reflected heat to be exhausted through ridge ventilation. Reflective products placed on the attic floor have no air gap above them and perform more like insulation than a true radiant barrier. The written scope for your job will specify exactly what product is being installed and why.
Key Takeaways
- Radiant barrier installation in Santa Clarita costs $1,400 to $3,200 for most homes, with the typical job running $1,800-$2,400.
- Santa Clarita’s inland climate – with attic temperatures regularly above 150°F in summer – makes radiant barriers more effective here than in most coastal LA markets.
- The biggest cost variables are attic square footage, roof complexity, HVAC equipment in the attic, and whether ventilation corrections are needed.
- Bundling radiant barrier installation with attic air sealing typically reduces total cost by 15-20% compared to two separate visits.
- A written price before any work starts is non-negotiable under Haven Standard Clause 1 – there are no verbal estimates that turn into invoices later.
- Every job closes with a Documented Photo Record. On jobs that include air sealing, before-and-after blower-door readings are provided so the result is verifiable.
- The 365-Day Done Right Promise applies to all completed work – if it’s not done right, we make it right, and that commitment is in writing before the crew arrives.
Get a Written Price for Your Santa Clarita Home
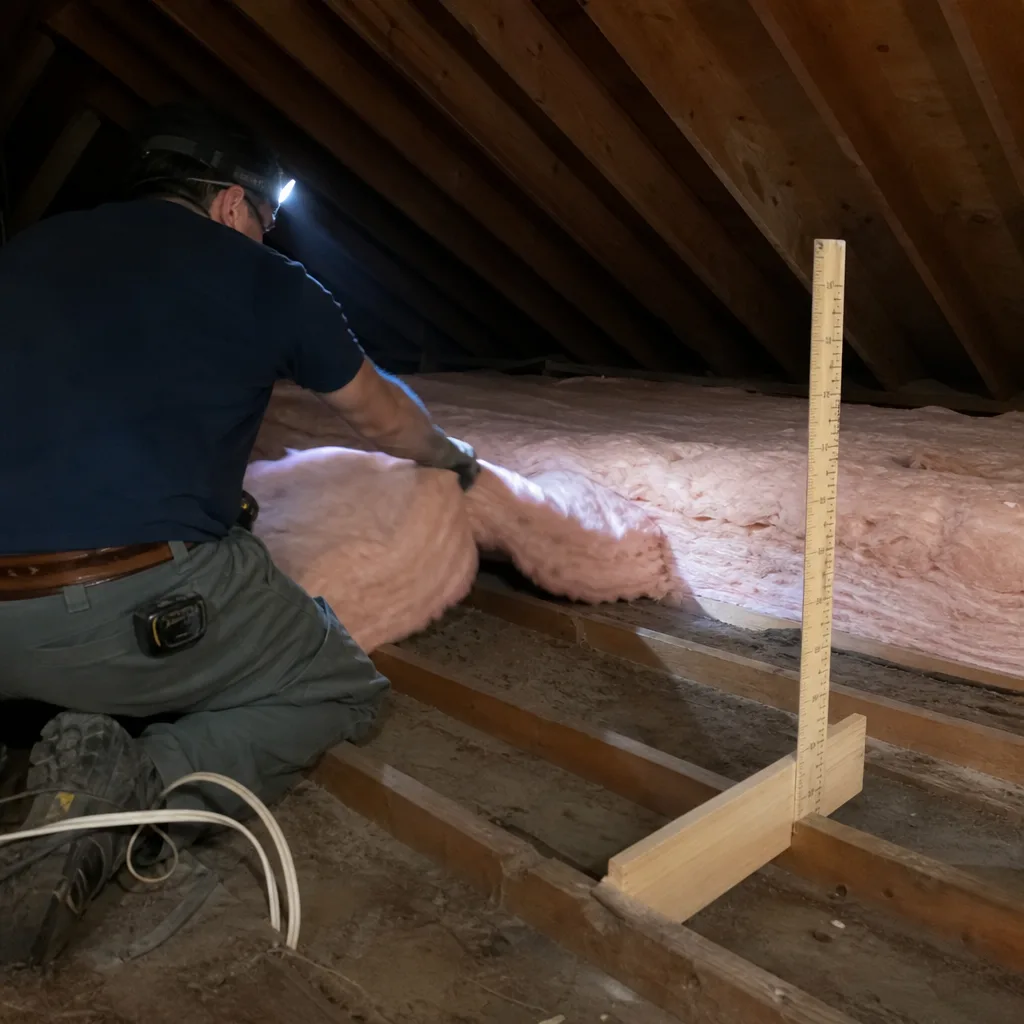
If you’re trying to figure out whether a radiant barrier makes sense for your home, or you already have a quote and want a second set of eyes on it, the next step is a free estimate. Wes Okafor and the team at Envelope Insulation Co. – operating as Topside Attic Insulation Santa Clarita – have assessed and documented attic conditions in more than 9,000 homes since 2016, every one with a written price before work started and a photo record when the crew left.
Call (747) 294-2764 to schedule a free estimate. You’ll receive a flat price with a written scope before any work is scheduled – no verbal ranges that shift when the invoice arrives, no upsells discovered mid-job. If you already have a written quote from another contractor, bring it. We’ll read it with you, line by line, at no charge and with no obligation.
Written by Wes Okafor, Owner at Envelope Insulation Co. (operating as Topside Attic Insulation Santa Clarita), serving Santa Clarita since 2016.
Pricing reflects the Santa Clarita market as of 2026. Topside Attic Insulation Santa Clarita offers free estimates – call (747) 294-2764.
What Our Customers Say
"They air-sealed the attic floor before insulating and showed me the blower-door number before and after. The upstairs is finally the same temperature as downstairs."
- Marisol D."The winter gas bill dropped by about a third. They had estimated a quarter, so they under-promised."
- Genevieve R."Two other companies quoted to blow more insulation on top of what was there. These were the only ones who said the existing material had to come out first, and explained why."
- Clifford E.