
Attic Baffles & Ventilation Prep in Santa Clarita, CA
Attic baffles – also called rafter vents or vent chutes – are rigid channels installed between roof rafters that keep a clear airflow path from your soffit vents to your ridge vent, even after blown-in insulation fills the attic floor. Without them, insulation blocks the soffit opening, airflow stops, moisture builds up, and any new insulation you add loses a measurable percentage of its rated performance within the first few years. In Santa Clarita, where summer attic temperatures regularly exceed 150°F and the Santa Ana wind season drives rapid pressure changes across the building envelope, Attic Insulation services depend on proper ventilation prep – it isn’t a finishing detail, it’s load-bearing work that determines whether the rest of the job holds up.
At Topside Attic Insulation Santa Clarita, ventilation prep happens before any insulation is touched. That’s not a slogan – it’s the sequence we follow on every job, under The Haven Standard that has governed our work since 2016. If your attic’s ventilation path isn’t clear and baffled, we say so in writing before we quote anything else. You can reach us at (747) 294-2764 to schedule a no-obligation assessment, or read below to understand exactly what this service involves and what it costs in this market.
This page covers the baffle and ventilation prep work we do as part of a complete Attic Insulation in Santa Clarita project. If you want the full picture of how attic insulation fits into your home’s building envelope, the parent Attic Insulation page covers scope, pricing, and the blower-door process end to end.
When You Need Attic Baffles & Ventilation Prep
Most homeowners in Santa Clarita discover they need this service during an attic inspection, not because they noticed something wrong from the living space. Here are the specific conditions that make baffle installation or ventilation prep necessary before insulation work proceeds:
- Existing insulation is blocking soffit vents. In older homes in Saugus, Newhall, and Canyon Country – particularly those built before 1995 – original insulation was often pushed back toward the eaves without baffles in place. The soffit vent opening is physically covered, and attic air can’t circulate regardless of how much ridge ventilation is present.
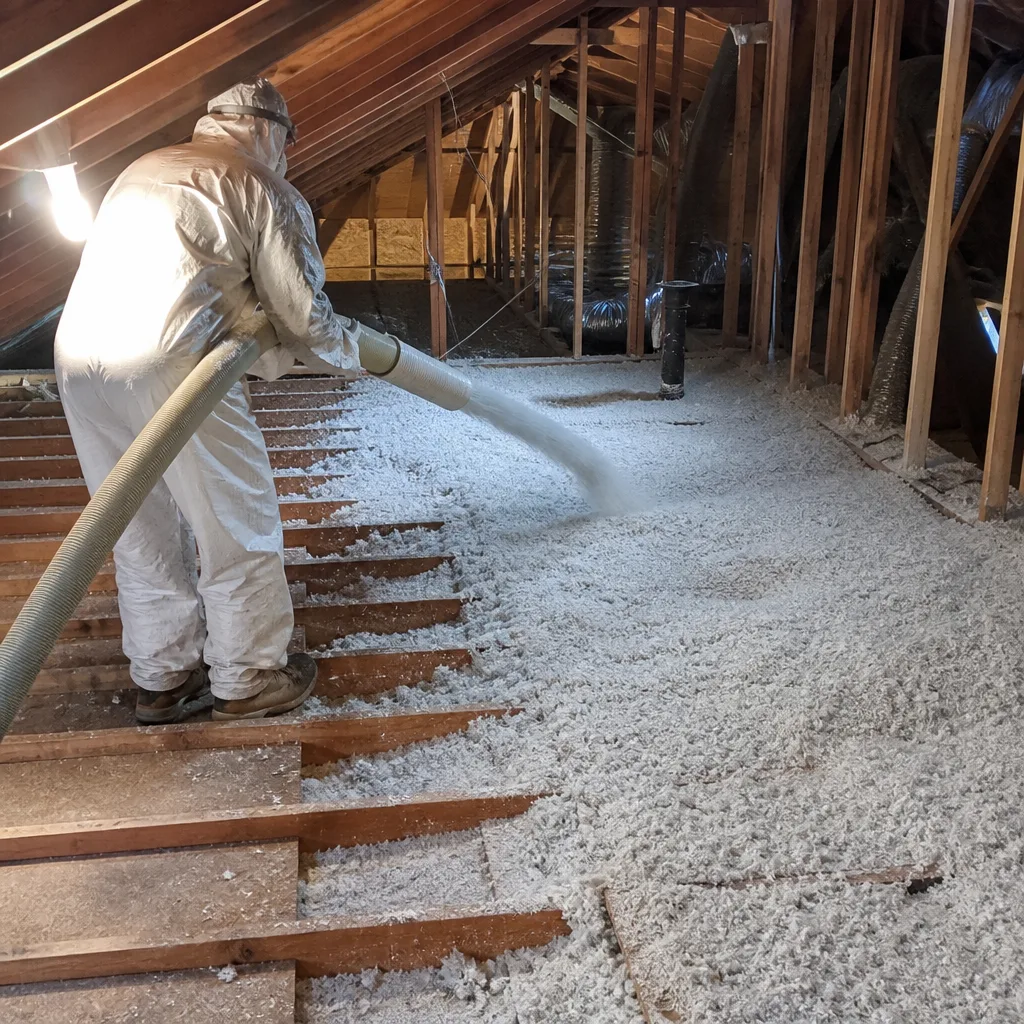
- You’re adding blown-in insulation to an existing attic. Blown-in material, whether fiberglass or cellulose, migrates toward low points and eave corners during installation. Without a rigid baffle channel holding the soffit lane open, the new insulation will close off the very vents it’s supposed to work alongside.
- You’re seeing moisture staining, mold, or frost on the underside of the roof deck. In Santa Clarita’s cooler winter months – January lows can drop below 40°F in areas like Agua Dulce and the hillside neighborhoods above Stevenson Ranch – condensation on the sheathing is a direct indicator that warm interior air is reaching the deck surface without being flushed out by ventilation airflow.
- Your HVAC system runs longer than expected during summer afternoons. A blocked ventilation path traps radiant heat in the attic. When attic air temperature rises past 150-160°F, even properly rated insulation transfers more heat into the living space than its R-value suggests it should. Baffled, circulating airflow is part of what keeps attic temperature manageable.
- You have a low-slope or hip roof with limited ridge vent access. Some Santa Clarita tract homes from the 1980s and early 1990s – particularly in the Valencia and Lyons Avenue corridors – were built with hip roofs that have minimal ridge length. In those configurations, every soffit vent carries proportionally more of the ventilation load, and blocking even one or two of them has a compounding effect on attic temperature and moisture.
- A previous contractor blew insulation without first confirming soffit clearance. We see this regularly. The insulation looks fine from a hatch view, but at the eaves, the batt or blown material has filled the rafter cavity completely. A probe or borescope check is the only way to confirm clearance without pulling insulation back manually.
Our Attic Baffles & Ventilation Prep Process
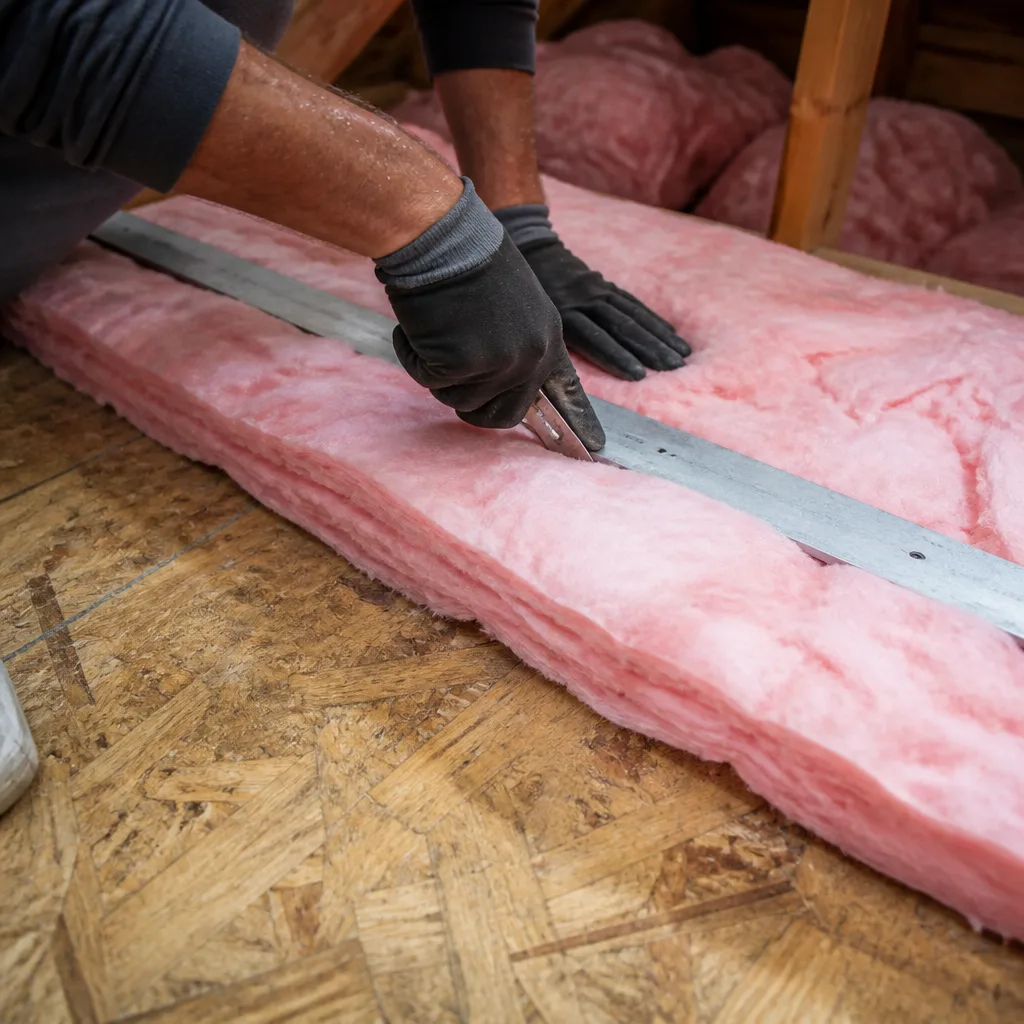
The sequence below is what actually happens on a Topside Attic Insulation Santa Clarita ventilation prep job. Every step is documented with photos before and after, and the written scope you receive before work starts names each task explicitly – no vague line items.
- Pre-work inspection and documentation. Before any material enters the attic, a technician performs a full rafter-bay survey using a combination of visual inspection and, where visibility is limited, a borescope camera. We photograph every soffit run – typically 24 to 40 individual bays in a standard Santa Clarita tract home – and note which are open, which are partially blocked, and which are fully closed. This photo set becomes part of your Documented Photo Record and is yours to keep. We also note the existing ventilation ratio (net free area of intake vs. exhaust) to confirm the system will meet the 1:150 or 1:300 net-free-area requirement under California Building Code Section R806.
- Existing insulation pulled back at eaves. Where soffit bays are blocked, we pull existing insulation back from the eave end of each rafter cavity far enough to work cleanly. On jobs where the existing material is contaminated, damaged, or clearly underperforming, we coordinate with the customer before proceeding – this is a scope change that gets a written revision, not a verbal heads-up at the end of the day.
- Baffle installation, bay by bay. We install rigid baffles – typically Knauf or CertainTeed rafter vent channels, depending on rafter spacing and availability – in every bay that connects to a soffit vent opening. Each baffle is stapled or fastened to the roof deck at the top and the top plate at the bottom, creating a sealed channel that keeps a minimum 1-inch air gap between the baffle face and the roof deck. In bays where the rafter depth is shallow (common in 2×4 and 2×6 rafter construction from the 1970s-80s), we note the geometry in writing and confirm with the homeowner that the baffle install doesn’t compress the insulation depth below the target R-value.
- Air sealing at the top plate before insulation is added. This step is separate from baffle work but happens in the same visit on combined jobs. Top plates, penetrations, recessed can lights, and any open cavities at the attic floor are sealed with spray foam or caulk before blown-in insulation is added. Under the Haven Standard, we will not blow insulation over an unsealed attic floor. This isn’t a selling point – it’s a prerequisite for the insulation to perform at its rated R-value.
- Ventilation ratio confirmation. Once baffles are in place, we re-calculate the net free area of the ventilation system. If the existing soffit and ridge vent configuration is undersized for the attic square footage, we document that gap in writing and explain the correction options. We don’t proceed to insulation while a known ventilation deficiency is unresolved – because insulation installed over an undersized ventilation system will underperform and may void manufacturer specifications on the insulation material itself.
- Final photo documentation and written handoff. Every completed baffle bay is photographed. The final photo set, the written scope, the material specs (including the baffle product name, dimensions, and installation spacing), and – on applicable jobs – the before-and-after blower-door readings are compiled into your job record. You receive this before we leave. Under Haven Standard Clause 1, you also have the written price in hand before any of the above work starts.
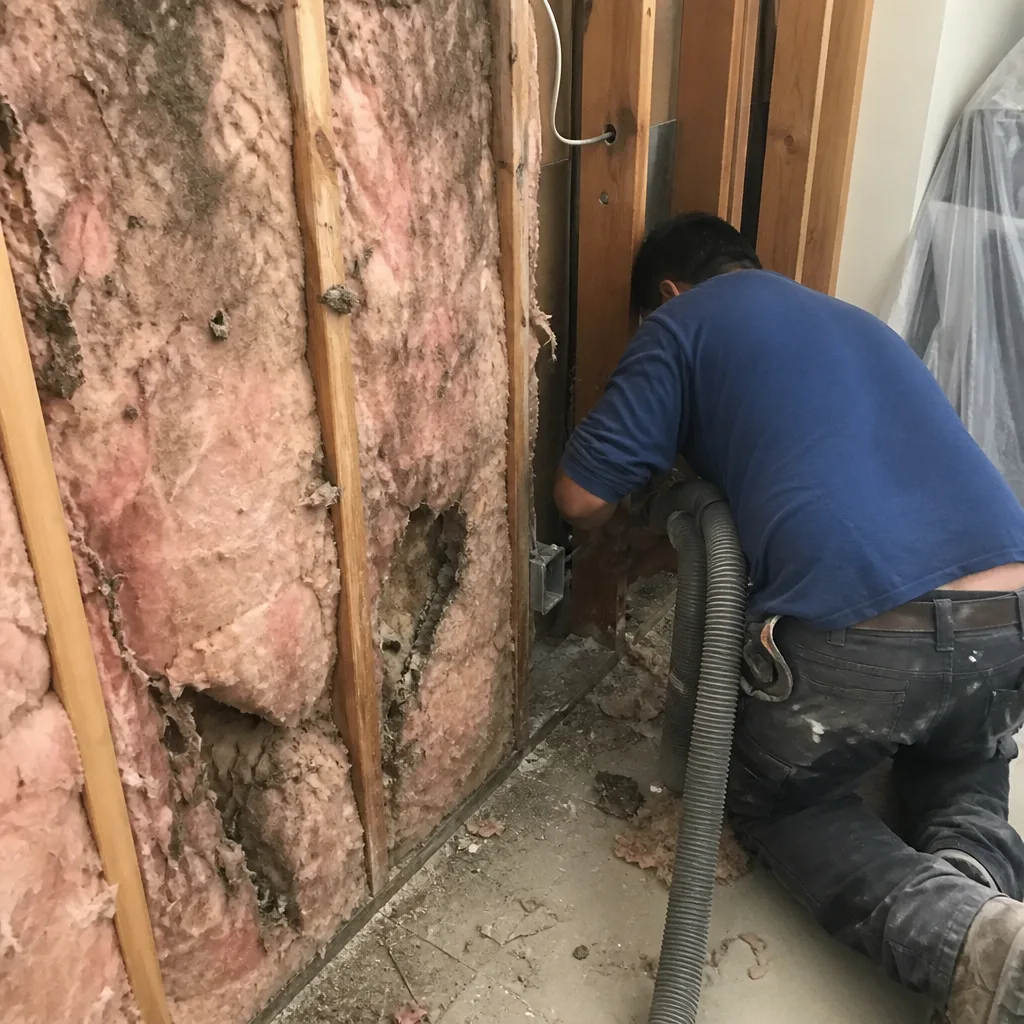 Before
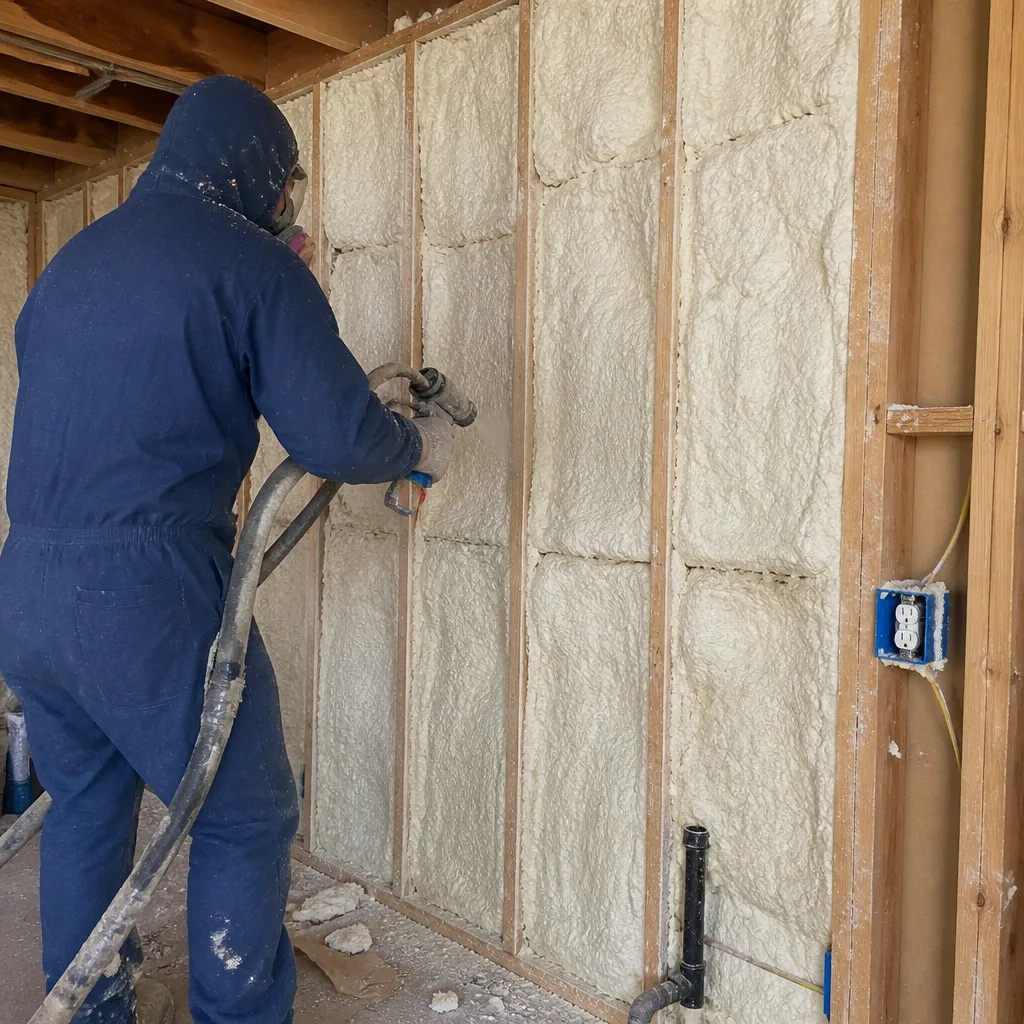 After
AfterAttic Baffles & Ventilation Prep Pricing in Santa Clarita
Attic baffle and ventilation prep work in Santa Clarita runs between $350 and $1,200 for most residential jobs, with the majority of standard tract homes falling in the $450-$750 range; for full pricing context, see our guide on How Much Does Attic Insulation Cost? (2026 Price Guide) - Santa Clarita, CA. That range reflects the scope of work only – materials and labor for baffle installation and soffit clearance – and does not include blown-in insulation, air sealing, or any removal work, which are priced separately on a written scope.
| Scope | Typical Range (Santa Clarita market) |
|---|---|
| Partial baffle install (10-16 bays, partial blockage) | $350 – $550 |
| Full baffle install, standard tract home (24-40 bays) | $550 – $850 |
| Full baffle install, larger or complex roof geometry (hip roof, 40+ bays) | $800 – $1,200 |
| Ventilation ratio assessment and documentation only (no installation) | $0 – included in full job estimate |
What moves a job toward the higher end of those ranges: limited attic access that slows bay-by-bay work, existing insulation that needs to be pulled and re-deposited rather than just pushed aside, hip or shed roof geometry that increases the number of partial or irregular bays, and homes where the rafter depth is shallow enough to require thinner or custom-cut baffle material.
Under Haven Standard Clause 1, you receive a flat written price before any work starts. The number on the estimate is the number on the invoice. Wes Okafor reviews every estimate before it goes out, and if you have a written estimate from another contractor, we’ll read it with you line by line at no charge – that’s our Free Second Opinion offer, and it applies to any written quote you’ve already received.
To get a written price specific to your home’s attic configuration from Attic Insulation Near Me in Santa Clarita, CA, call (747) 294-2764. The estimate is free, the price is in writing, and no work starts until you’ve approved it.
FAQs – Attic Baffles & Ventilation Prep
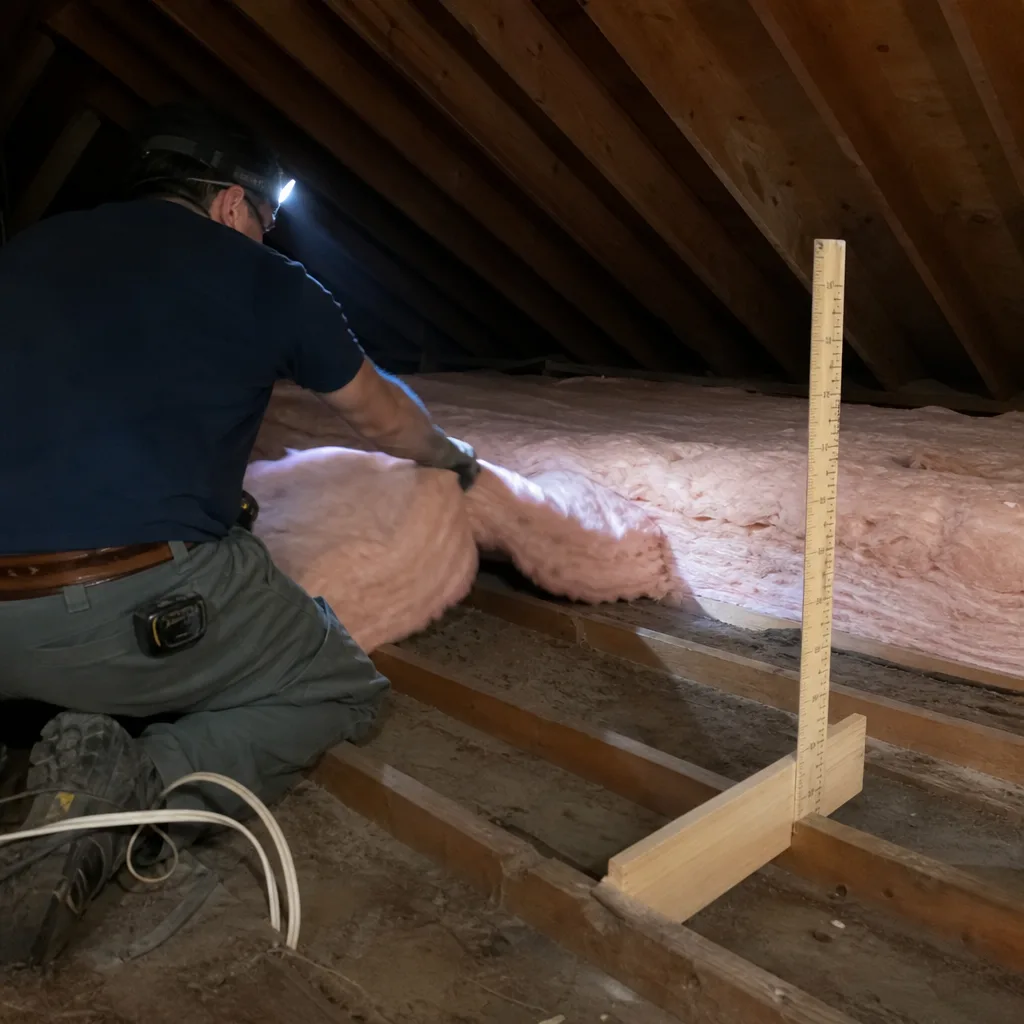
What is an attic baffle, and do I actually need one?
An attic baffle is a rigid channel – usually made from polystyrene or cardboard – that runs along the underside of the roof deck in each rafter bay, from the soffit vent opening up toward the ridge. It physically holds the insulation back from the eave so that air can move freely from your soffit vents through the attic and out the ridge. Whether you need baffles depends on whether your soffit vents are currently clear. In our experience across Santa Clarita homes, roughly 60-70% of attics we inspect have at least partial soffit blockage, either from original installation without baffles or from insulation that has settled and migrated toward the eaves over time. A quick inspection can confirm your situation in about 20 minutes. Call (747) 294-2764 to schedule one.
Can I add insulation first and install baffles later?
Adding insulation before baffles are in place makes the problem worse, not just harder to fix later. Blown-in insulation deposited without baffles will fill the soffit lane during installation, block the vent opening, and trap the excess heat and moisture that ventilation is supposed to remove. Pulling insulation back after the fact to retrofit baffles costs more than doing it in the correct order, and in the interim, the insulation that was blown in is performing below its rated R-value because the ventilation system it depends on is not functioning. We install baffles first, then Attic Batt Insulation or other insulation types – every time, without exception.
How does ventilation prep affect my insulation’s R-value?
R-value is measured under laboratory conditions at a static temperature differential. In an attic without functional ventilation, the temperature differential across the insulation layer is higher and more variable than the lab condition assumed, which degrades effective thermal resistance – sometimes meaningfully. Beyond R-value degradation, moisture that accumulates in insulation (because it has no ventilation path to escape) compresses fiberglass batts and clumps cellulose, which further reduces effective R-value over time. A ventilation system that meets California’s 1:150 net-free-area standard keeps attic conditions closer to the conditions under which your insulation’s R-value was measured. That’s not a theoretical benefit – it’s what the insulation manufacturer’s spec assumes when they print the R-value on the bag.
How long does attic baffle installation take?
For a standard Santa Clarita tract home with 24-36 rafter bays, a full baffle install typically takes 2-4 hours for a two-person crew. Homes with hip roofs, steeper pitches, or very limited attic height take longer – occasionally a full day for a complex configuration. We give you a time estimate as part of the written scope so you know what to expect before the crew arrives. Under the Haven Standard, you also receive a named technician and a text when they’re on the way – no waiting in a four-hour window without contact.
Why Ventilation Prep Comes Before Everything Else
The sequence matters more than the materials. We’ve inspected attics in Canyon Country and Saugus where the insulation depth measured at R-38 on paper, but the soffit vents were completely blocked, attic temperatures were running above 160°F in July, and the homeowner’s cooling bills hadn’t moved despite a full insulation replacement two years prior. The insulation was fine. The ventilation prep had never been done.
Wes Okafor structured Topside Attic Insulation Santa Clarita’s workflow around this sequencing requirement because the alternative – insulating over a ventilation problem and calling it done – produces a result that looks correct from a hatch view but underperforms in the building physics that actually affect your energy bills and your roof deck’s lifespan. Since 2016, across more than 9,000 homes sealed and insulated, that sequence has been consistent: ventilation confirmed and corrected first, air sealing second, insulation third. The blower-door numbers before and after the air sealing portion of any applicable job are published in the job record so you can see the measured change, not just take our word for it.
Every job that includes blown-in insulation from Johns Manville or another material in our sourcing line gets a ventilation confirmation step built into the written scope – it’s not an optional add-on, and it’s not billed separately as a surprise at the end. You see it in the written price before work starts.
Key Takeaways
- Attic baffles keep soffit vents clear of insulation so airflow can move from eave to ridge – without them, insulation underperforms and moisture builds up.
- Ventilation prep happens before any insulation is added on every Topside Attic Insulation Santa Clarita job, without exception.
- Most Santa Clarita residential baffle installs run between $450 and $850, depending on roof geometry and number of bays – written price before any work starts, always.
- California Building Code Section R806 sets the minimum ventilation ratio; we confirm compliance as part of every scope.
- You receive a Documented Photo Record of every baffle bay and a written scope before and after the job – not on request, on every visit.
- The 365-Day Done Right Promise applies to all completed work: if it’s not right, we make it right.
Get a Written Price for Your Santa Clarita Home
If you’re planning an insulation project and you’re not sure whether your attic’s ventilation is set up to support it, the right move is an inspection before any insulation goes in. Call Topside Attic Insulation Santa Clarita at (747) 294-2764 to schedule a free assessment. You’ll get a written price before any work starts, a named technician, and a Documented Photo Record when the job is done. We serve Santa Clarita and the surrounding communities, and a live person answers that number around the clock – no voicemail, no callback queue.
Written by Wes Okafor, Owner at Topside Attic Insulation Santa Clarita, serving Santa Clarita since 2016.