
Last updated September 23, 2026
Seasonal Insulation Care for Santa Clarita: Year-Round Homeowner’s Guide
In October 2019, sustained 60 mph Diablo winds in the Santa Clarita Valley dislodged soffit baffles and blew loose-fill insulation away from eave edges in hundreds of attics - a failure mode that most homeowners didn’t discover until their heating bills spiked in January. This guide maps the four distinct seasonal stresses that Santa Clarita’s unique climate places on your home’s thermal envelope, gives you measurable inspection benchmarks for each season, and provides a one-page annual calendar you can print and file. You’ll learn why attic ventilation determines whether your insulation performs at its labeled R-value, how a $50 tube of fire-rated caulk can change your blower-door result, and which seasonal warning signs mean it’s time for professional help.
Quick Answer
Santa Clarita homeowners should inspect their insulation four times yearly: summer for attic heat buildup exceeding 15°F above outdoor temperature, fall for wind-damaged soffit baffles and displaced loose-fill, winter for frozen supply lines in unconditioned attics, and spring for pest intrusion at top-plate bypasses. The highest-return annual task is re-sealing top-plate penetrations with fire-rated caulk or intumescent foam, which costs under $50 in materials and measurably reduces air leakage.
Table of Contents
- Summer: Managing Radiant Heat Load and Ventilation Adequacy
- Fall: Diablo Wind Pressure on Soffit Baffles and Loose-Fill Insulation
- Winter: Freeze-Thaw Cycles and Unconditioned Attic Risks
- Spring: Pest Activity at Penetrations and Air-Sealing Gaps
- Your One-Page Annual Insulation Calendar
- Why Attic Ventilation Determines Your Insulation’s Real R-Value
- The Highest-Return Annual Task: Re-Sealing Top-Plate Bypasses
- Common Mistakes to Avoid
- When to Call a Professional
- Frequently Asked Questions
- The Bottom Line
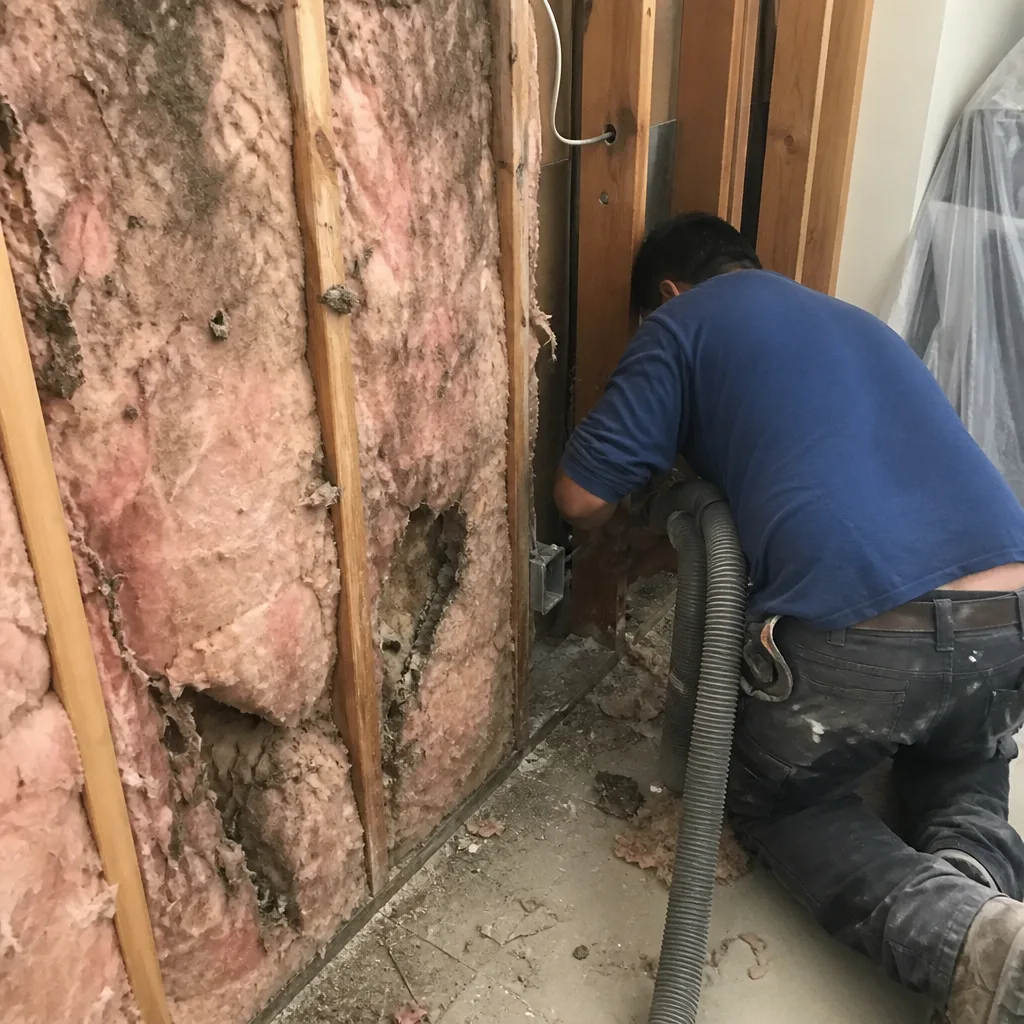 Before
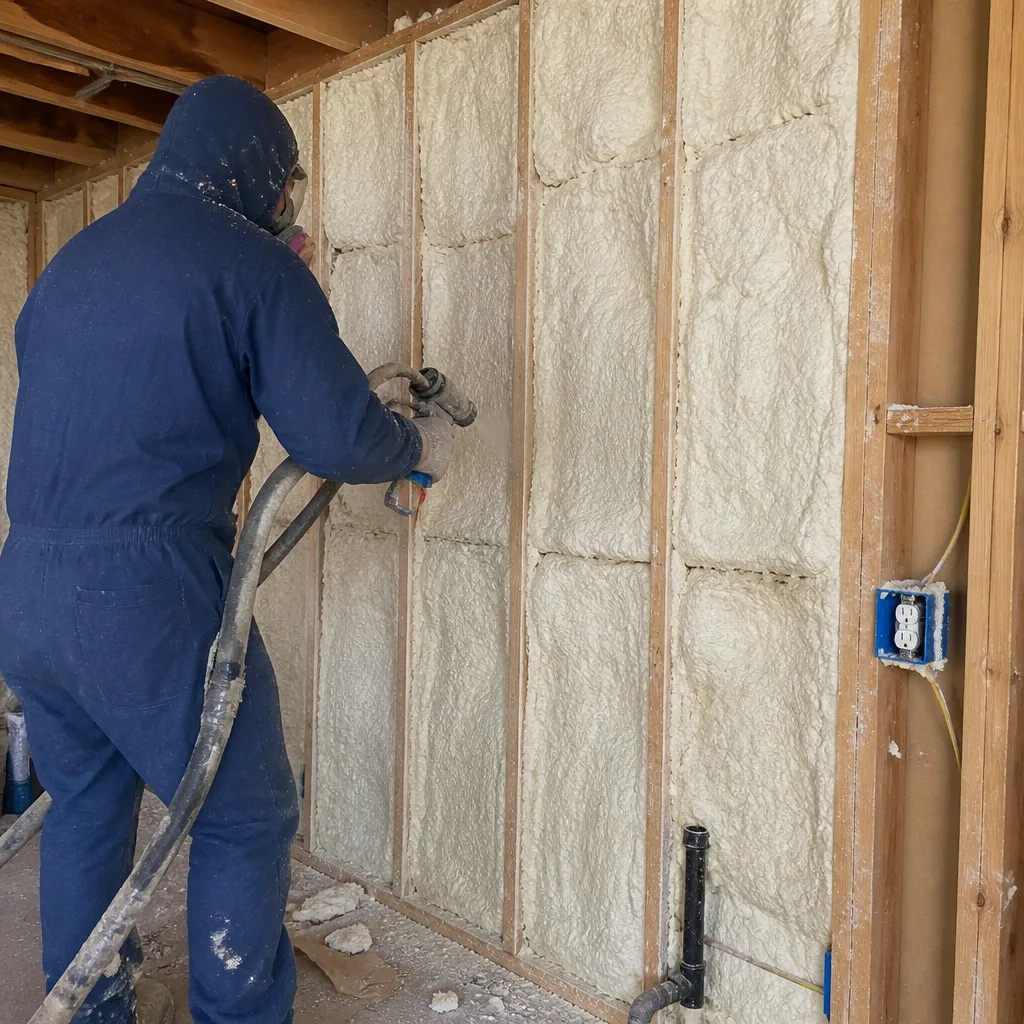 After
AfterSummer: Managing Radiant Heat Load and Ventilation Adequacy
Santa Clarita’s summer heat load is not a coastal California problem. From June through September, attic temperatures in Valencia, Saugus, and Canyon Country regularly reach 140-160°F when ventilation is inadequate. That heat doesn’t stay in the attic. It radiates through the ceiling plane, forces your HVAC system to run longer cycles, and can degrade certain insulation materials over time.
Here’s the measurable benchmark: on a 95°F day in Santa Clarita, your attic temperature should not exceed 110-115°F. A differential larger than 15°F above outdoor ambient indicates one of three problems: insufficient net free ventilation area, blocked soffit vents, or missing or damaged radiant barrier.
How to Measure Attic Temperature Differential
- Record the outdoor temperature from a shaded thermometer at roof level - not in direct sun, not near a reflective surface.
- Climb to the attic center, hold a thermometer at mid-height for three minutes, and record the reading.
- Subtract outdoor from attic. Pass: 10-15°F differential. Fail: 20°F or more.
- Check soffit vents from inside the attic - look for daylight. No daylight means blocked baffles or painted-over vents.
- Verify ridge vent or gable vent airflow. On a breezy day, you should feel air movement at the highest point.
Santa Clarita’s building stock varies dramatically by neighborhood. In the older Canyon Country homes built 1970-1990, we commonly find original soffit vents that were painted shut during exterior repaints, reducing net free area to near zero. In newer Stevenson Ranch construction, builder-grade ridge vents sometimes terminate short of the ridge peak, creating dead-air zones.
The net free area requirement for Santa Clarita’s roof pitches - typically 4:12 to 6:12 in tract construction - is 1 square foot of ventilation per 150 square feet of attic floor area, or 1:300 if you have a vapor barrier and balanced intake/exhaust. Most homes fall short on intake. Soffit vents clogged with blown-in insulation are the single most common cause we find.
If your attic exceeds the 15°F differential benchmark, the fix sequence matters: clear soffit vents and install proper baffles first, then verify exhaust ventilation, then consider adding insulation. Blowing more attic insulation in Santa Clarita over blocked soffits traps heat and can accelerate shingle degradation.
For homes with ductwork in the attic - common in Santa Clarita’s 1990s-2000s construction - summer heat load has a second cost. Supply ducts in 150°F attics lose 15-25% of their cooling capacity before the air reaches your rooms. Sealing duct boots to the ceiling plane with mastic, then burying ducts in additional insulation, often yields better comfort return than upgrading the HVAC unit itself.
Fall: Diablo Wind Pressure on Soffit Baffles and Loose-Fill Insulation
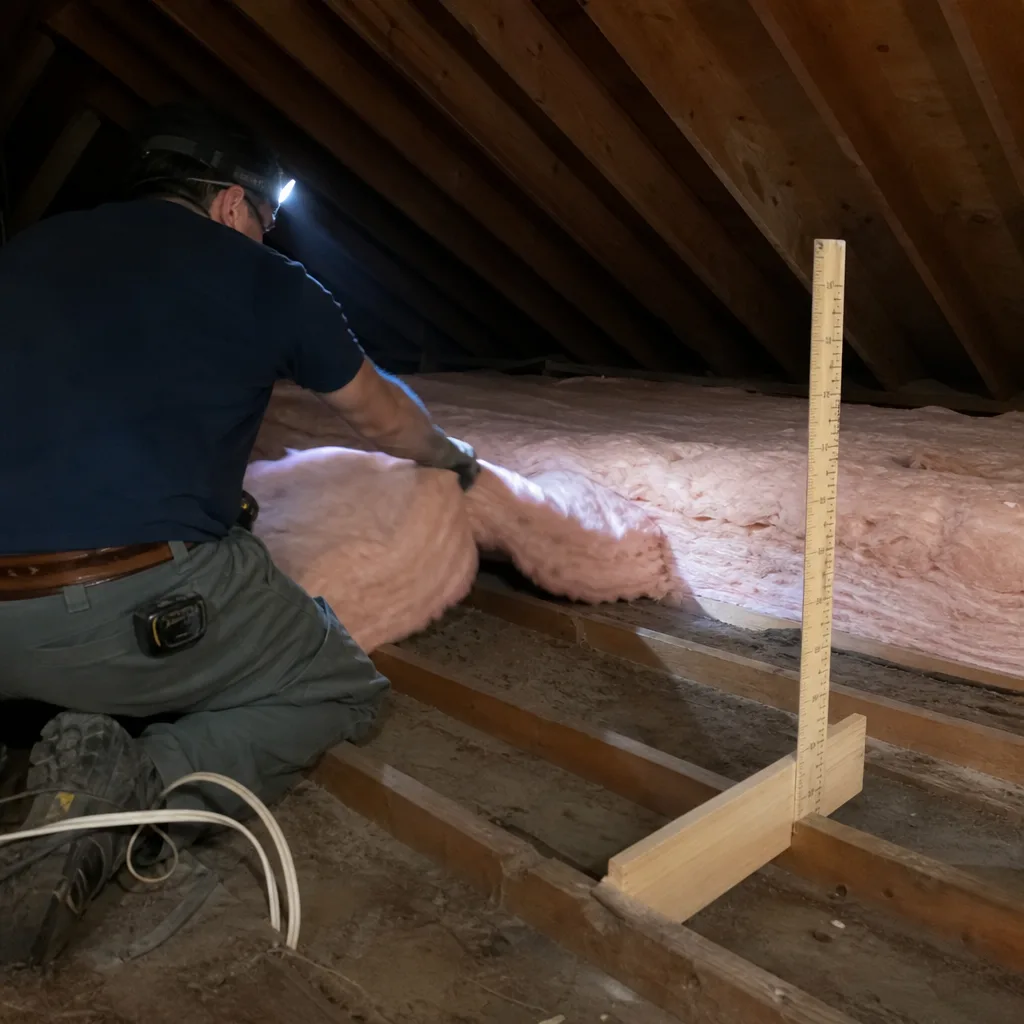
The Santa Ana wind events locals call Diablo winds - though meteorologists reserve that term for Northern California, the pressure dynamics are identical - peak in October and November. Sustained winds of 40-60 mph, with gusts to 80 mph in canyon corridors, create positive pressure at windward eaves and negative pressure at leeward ridges. Your attic becomes a lung, breathing in and out through every penetration.
In October 2019, we documented the aftermath across Santa Clarita. In Rancho Vista and Sand Canyon, loose-fill cellulose and fiberglass had migrated 3-6 feet inward from eave edges, exposing top plates and creating thermal bridges. Soffit baffles - the cardboard or plastic channels that keep insulation back from vents - had been torn loose or inverted. Several homeowners in Fair Oaks Ranch reported wind-driven rain entering through displaced baffle gaps, wetting insulation and compressing it to a fraction of its labeled R-value.
Post-Wind Inspection Checklist
- Wait 48 hours after winds subside for safety, then enter the attic with a headlamp.
- Walk the eave perimeter. Insulation depth at eaves should match depth at center attic. If eaves show bare drywall or top plates, wind displacement has occurred.
- Inspect each soffit baffle. It should be stapled to the underside of the roof deck, extending from the soffit vent to at least 6 inches above the insulation plane. Loose, torn, or missing baffles need replacement.
- Check for wind-driven debris: leaves, dust, bird nests in soffit vents. These indicate pathways where air and water can enter.
- Look for water staining on the roof deck underside, especially at valleys and near chimney penetrations. Stained insulation should be removed and replaced; compressed wet cellulose loses 40-60% of its thermal resistance.
The fix for wind-displaced loose-fill is not simply adding more. First, install rigid baffles - we prefer solid plastic over cardboard in Santa Clarita’s fire-prone zones - secured with staples every 4 inches. Then redistribute existing insulation with a leaf blower on low speed, working from center to eaves. Only then add make-up material if depth is below the Department of Energy’s recommended R-38 to R-49 for our climate zone.
For homes in wind-exposed locations - ridge-top properties in Skyline Ranch, canyon-adjacent homes in Placerita Canyon - consider upgrading to stabilized blown-in products or switching to spray foam insulation in Santa Clarita at the eave perimeter. Icynene and Demilec open-cell foams adhere to roof decks and don’t migrate under wind load. The cost is higher, but in our experience, wind-prone homes see payback in reduced maintenance and consistent thermal performance.
Winter: Freeze-Thaw Cycles and Unconditioned Attic Risks
Santa Clarita’s winter surprises homeowners who moved from coastal zones. January nights in Valencia and Saugus regularly drop to 28-32°F. In December 2022, Canyon Country hit 24°F. These temperatures matter because they expose a design flaw common in local construction: plumbing supply lines and P-traps routed through unconditioned attics.
When attic insulation is displaced, thin, or compromised by air leakage, the attic temperature approaches outdoor ambient. A supply line with minimal flow - the hot water line to a distant bathroom, for instance - can freeze in 4-6 hours at 28°F with 10 mph wind. The thaw, when it comes, often bursts copper at solder joints or splits PEX at crimp connections.
Winter Attice Inspection Points
- Insulation depth over plumbing chases: Check where supply lines penetrate the ceiling plane. Insulation should be continuous, not hollowed out by previous work or pest activity. Minimum R-38 over chases; R-49 preferred.
- Air sealing at stack penetrations: Plumbing vent stacks - the pipes that extend through your roof - create a direct air leakage path if not sealed at the ceiling plane with fire-rated caulk or intumescent foam. Warm, moist interior air rises through these gaps, condenses on cold roof decking, and can drip onto insulation, reducing its effectiveness.
- Duct boot sealing: In Santa Clarita’s many homes with attic ductwork, winter reverses the summer problem. Heated air leaks at duct boots, warming the attic slightly but more importantly pulling cold attic air into return pathways. Blower-door testing - a pressurization reading that shows, in one number, how much air your building envelope is losing - consistently finds 15-25% of total leakage at duct boot-to-ceiling connections.
- Ice dam risk assessment: Rare in Santa Clarita, but possible on north-facing pitches with poor ventilation and heat loss. Look for icicle formation at eaves; it indicates warm roof decking from attic heat loss, melting snow that refreezes at the cold eave.
The documentation that matters in winter: if you’ve had a freeze event, photograph the affected area before any repair. Insurance adjusters and contractors both need to see the failure mode. Under Haven Standard: Have it in writing, we provide a Documented Photo Record on every visit - included on every job, not available on request - so our Santa Clarita customers have dated evidence of attic conditions before and after any work.
For homes with chronic winter cold spots, we recommend a blower-door test through Topside Attic Insulation Santa Clarita’s home energy audit service. The test quantifies total envelope leakage in CFM50 - cubic feet per minute at 50 pascals of pressure difference. A typical 2,000 square foot Santa Clarita home built 1980-2000 tests at 3,500-5,000 CFM50 before air sealing. After sealing top plates, can lights, and penetrations, we regularly achieve 2,000-2,800 CFM50. The homeowner receives before-and-after numbers in writing.
Spring: Pest Activity at Penetrations and Air-Sealing Gaps
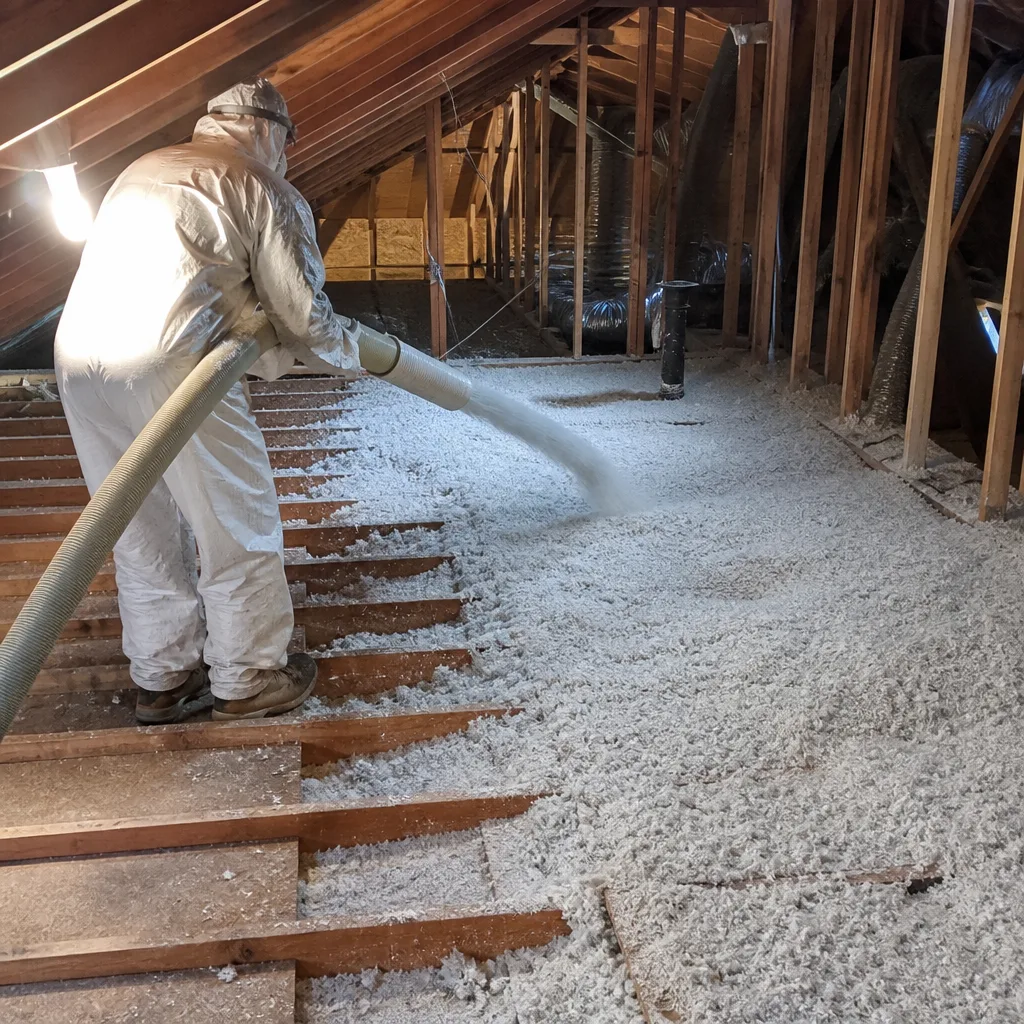
March through May in Santa Clarita brings roof rat breeding activity, paper wasp nest establishment, and the first sustained ant swarms. All three species exploit the same building envelope failure mode: gaps at penetrations where insulation and air sealing were never completed or have degraded.
Roof rats - the dominant species in Santa Clarita, not Norway rats - are agile climbers that enter attics through gaps larger than 1/2 inch. Their preferred routes follow plumbing vents, electrical service masts, and chimney surrounds where flashing meets framing. Once inside, they compress insulation for nesting material, contaminate it with urine that degrades cellulose binders, and create entry points for secondary pests.
Spring Pest-Related Inspection Steps
- Daylight the attic. Turn off lights and look for pinholes of daylight at all penetrations. Each pinhole is a potential pest entry.
- Follow plumbing vents from ceiling penetration to roof jack. The gap between vent pipe and framing should be sealed with fire-rated caulk or intumescent foam - never standard caulk, which fails quickly in attic temperature swings.
- Inspect insulation for compression trails, droppings, or nesting material. Compressed fiberglass loses R-value proportionally; 50% compression equals 50% thermal loss.
- Check electrical penetrations at top plates. Romex cable holes are often drilled oversize and never sealed - a 3/4 inch hole with 1/2 inch cable leaves a 1/4 inch gap that admits mice and admits conditioned air.
- Examine recessed can lights. Older non-IC fixtures create large unsealed holes in the thermal envelope; they also attract wasps seeking warmth. Spring is when queens establish new colonies.
In our Santa Clarita work, we find that pest activity and air leakage are two symptoms of the same disease. A home with active roof rats almost always tests high on the blower door. The solution is not pest control alone - though we coordinate with licensed pest operators - but sealing the entry pathways with materials that pests cannot penetrate. Crawl space encapsulation and vapor barrier work in Santa Clarita addresses the same principle at the lower envelope.
For homeowners in neighborhoods with mature landscaping - the oak-canopied streets of Valencia’s older tracts, the hillside homes in Lost Canyon - spring inspection is especially critical. Roof rats travel tree branches to rooflines; we’ve documented entries through gable vent screens that squirrels had enlarged. Metal hardware cloth, 1/4 inch mesh, secured with exterior-grade screws, prevents this. It’s a $20 material fix that protects thousands in insulation investment.
Your One-Page Annual Insulation Calendar
Print this section. Store it with your home file. Each task includes a pass/fail criterion you can verify without specialized equipment.
| Month | Action | Pass/Fail Criterion | Estimated Cost if DIY |
|---|---|---|---|
| March | Inspect for pest entry at all attic penetrations; seal gaps > 1/4 inch with fire-rated caulk or intumescent foam | Zero daylight visible at penetrations with lights off; no compression trails in insulation | $15-$45 materials |
| May | Verify soffit vent clearance; reinstall dislodged baffles; clear debris | Daylight visible at every soffit vent; baffles intact from soffit to 6 inches above insulation | $20-$40 baffle materials |
| July | Measure attic temperature differential on 95°F+ day | Attic temp ≤ 15°F above outdoor ambient | $0 |
| September | Inspect roof deck underside for water staining; check insulation for moisture | No staining; insulation dry and fluffy, not clumped or compressed | $0 inspection; $200-$600 if replacement needed |
| October | Pre-wind inspection: secure loose baffles, verify eave insulation depth matches center | Baffles stapled every 4 inches; eave depth within 1 inch of center depth | $15-$30 materials |
| December | Check insulation over plumbing chases; verify no exposed supply lines | Minimum R-38 continuous over all plumbing; no visible pipe except at fixtures | $30-$80 if adding batt sections |
The January task that isn’t on this calendar because it requires professional equipment: a blower-door test every 3-5 years, or after any major envelope modification - new roof, HVAC replacement, addition construction. The test gives you a single number that tracks your home’s airtightness over time. Under Haven Standard, we publish before-and-after blower-door numbers on every applicable job so Santa Clarita homeowners can verify the performance change they paid for.
Why Attic Ventilation Determines Your Insulation’s Real R-Value
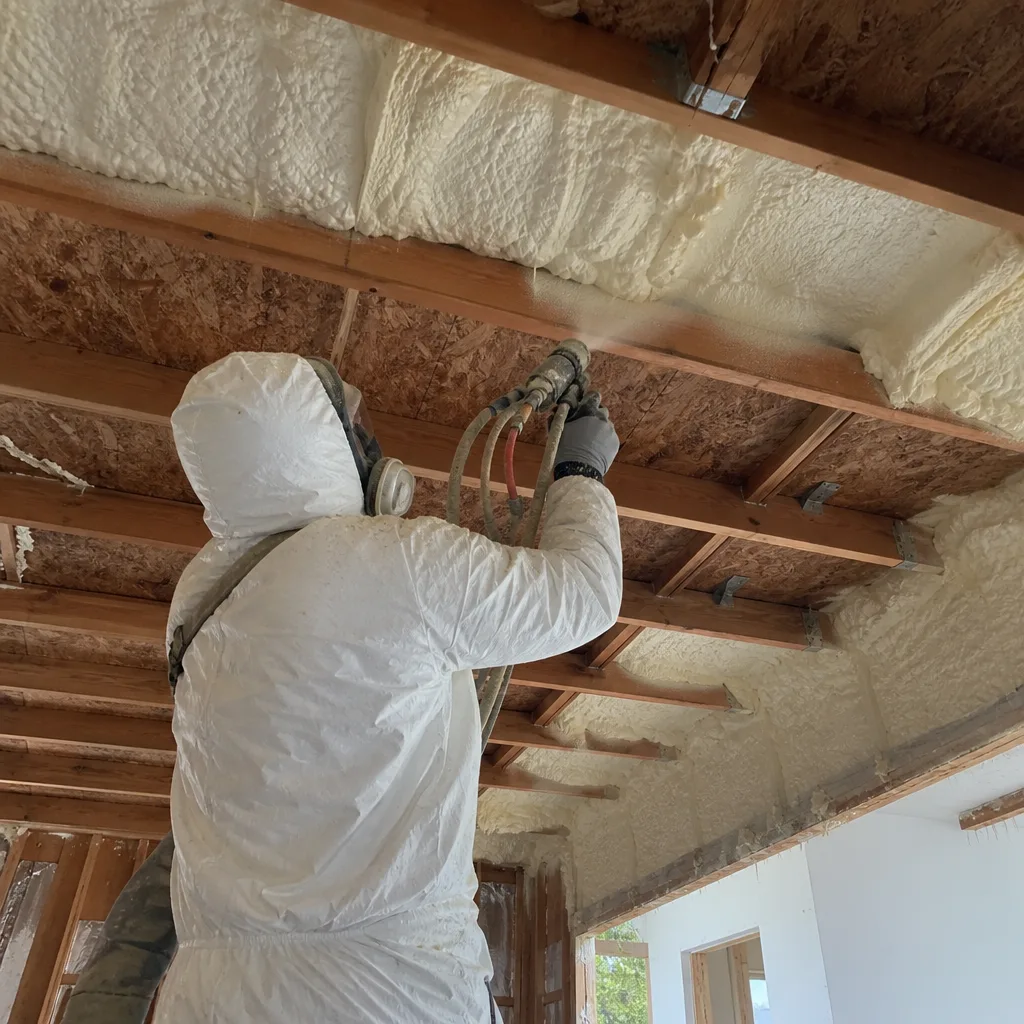
Insulation labels state R-value under laboratory conditions: 75°F mean temperature, no air movement, full loft thickness. Your Santa Clarita attic experiences none of these conditions. The gap between labeled and achieved R-value is driven primarily by ventilation adequacy.
Here’s the mechanism: when soffit intake is blocked, attic temperature rises. Fiberglass and cellulose both lose thermal resistance as mean temperature increases. At 140°F attic temperature, fiberglass batts perform at approximately 85% of labeled R-value. Cellulose, with its higher density and slight moisture-buffering capacity, degrades slightly less but still loses 10-15%. More critically, the temperature differential across the ceiling plane increases, accelerating conductive heat flow regardless of material.
Ventilation also controls moisture. Santa Clarita’s dry climate is misleading - winter interior relative humidity in sealed homes often reaches 40-50%. Warm, moist air that leaks into the attic through top-plate bypasses and can-light gaps deposits moisture on cold roof decking in January. Wet insulation, even at 10% moisture content by weight, loses 30-50% of its thermal resistance. It also supports mold growth on organic binders in cellulose.
The net free area calculation matters for Santa Clarita specifically. Our combination of high summer radiant load and fall wind pressure requires more robust ventilation than coastal California. For a 2,000 square foot attic:
- Minimum code (1:300 ratio with vapor barrier): 6.67 square feet total ventilation, split 50/50 intake and exhaust
- Recommended for Santa Clarita (1:150 ratio): 13.3 square feet total, with 60% intake at soffits, 40% exhaust at ridge or gables
- Wind-exposed or dark-shingle roofs: 15-16 square feet total, with continuous ridge vent and individual soffit vents every 4-6 feet
Blocked soffits are the silent killer. We’ve inspected Santa Clarita homes where blown-in insulation was added over original soffit vents without baffles, reducing effective ventilation to the gable vents alone - typically 20-30% of required area. The homeowner paid for R-38 and received R-28 performance in summer, with accelerated shingle degradation as a bonus.
Proper ventilation installation is sequential: baffles first, then insulation, then verification. We photograph each step for our Documented Photo Record. If you’re having insulation added, ask your contractor for photos of baffle installation before blow-in begins. If they can’t produce them, the baffles probably weren’t installed correctly.
The Highest-Return Annual Task: Re-Sealing Top-Plate Bypasses
If you do one thing annually, do this. Top plates - the horizontal framing members where wall studs meet ceiling joists - are drilled or notched for electrical cable, plumbing, and ductwork. These penetrations are rarely sealed in original construction. A 3/4 inch hole with a single Romex cable leaves a gap that leaks conditioned air continuously, not seasonally.
The materials are simple: a tube of fire-rated acrylic caulk ($8-$12), a can of intumescent spray foam for larger gaps ($15-$20), a headlamp, and a few hours in the attic. The technique is straightforward: remove insulation to expose top plates, seal every penetration, replace insulation. The effect is measurable.
Step-by-Step Top-Plate Sealing
- Choose a cool morning. Attic work in summer afternoons is unsafe; spring or fall mornings in Santa Clarita are ideal.
- Remove insulation along one wall section at a time, working 4-6 feet wide. Use a tarp to catch debris.
- Identify all penetrations: electrical cables, phone/data lines, plumbing vents, duct boots, recessed light housings.
- For gaps under 1/4 inch around cables: fire-rated caulk, applied with enough material to form a slight mound. Tool smooth with a gloved finger.
- For gaps 1/4 inch to 1 inch: intumescent spray foam, applied sparingly - it expands 3:1. Trim excess after curing with a serrated knife.
- For recessed can lights: replace non-IC fixtures with airtight IC-rated units, or install sealed boxes over existing fixtures. Do not bury non-IC lights in insulation - it’s a fire hazard.
- Replace insulation to original depth, ensuring no compression over sealed areas.
- Move to next wall section.
In our Santa Clarita blower-door testing, top-plate sealing alone typically reduces envelope leakage 8-15%. On a 4,000 CFM50 home, that’s 320-600 CFM50 reduction from a $50 material investment and 4-6 hours of careful work. No other single task matches this return.
The fire-rated specification matters. Standard latex caulk degrades in attic temperature cycles, becoming brittle and falling out within 2-3 years. Fire-rated products maintain flexibility to 300°F+ and are required by California Building Code at penetrations between conditioned and unconditioned space. Owens Corning and Johns Manville both publish compatible sealant specifications for their insulation systems; we use these as reference standards.
For homeowners who prefer not to work in attics - and many Santa Clarita residents in the 32-50 age bracket have neither the time nor the tolerance for fiberglass itch - this is a standard component of our attic insulation service in Santa Clarita. We include it in our written scope before any work starts, with the blower-door numbers to verify result.
Common Mistakes to Avoid
- Blowing insulation over unsealed air leaks. This is the most common error we correct in Santa Clarita. New insulation doesn’t seal gaps; it hides them. The homeowner gets a temporary R-value boost and permanent air leakage that degrades performance within two seasons. Sealed first, then insulated - in that order.
- Installing radiant barrier without addressing ventilation. Radiant barrier reduces radiant heat transfer by 90%+, but only if the attic can vent the reduced heat load. In inadequately ventilated attics, radiant barrier can actually increase roof deck temperature and accelerate shingle aging. Fix ventilation first, then consider radiant barrier.
- Compressing insulation to fit recessed fixtures. Fiberglass and cellulose both lose R-value proportionally to compression. A batt rated R-30 compressed to half its loft performs at R-15. Use insulation baffles or boxes to maintain full loft around fixtures, or switch to spray foam in constrained spaces.
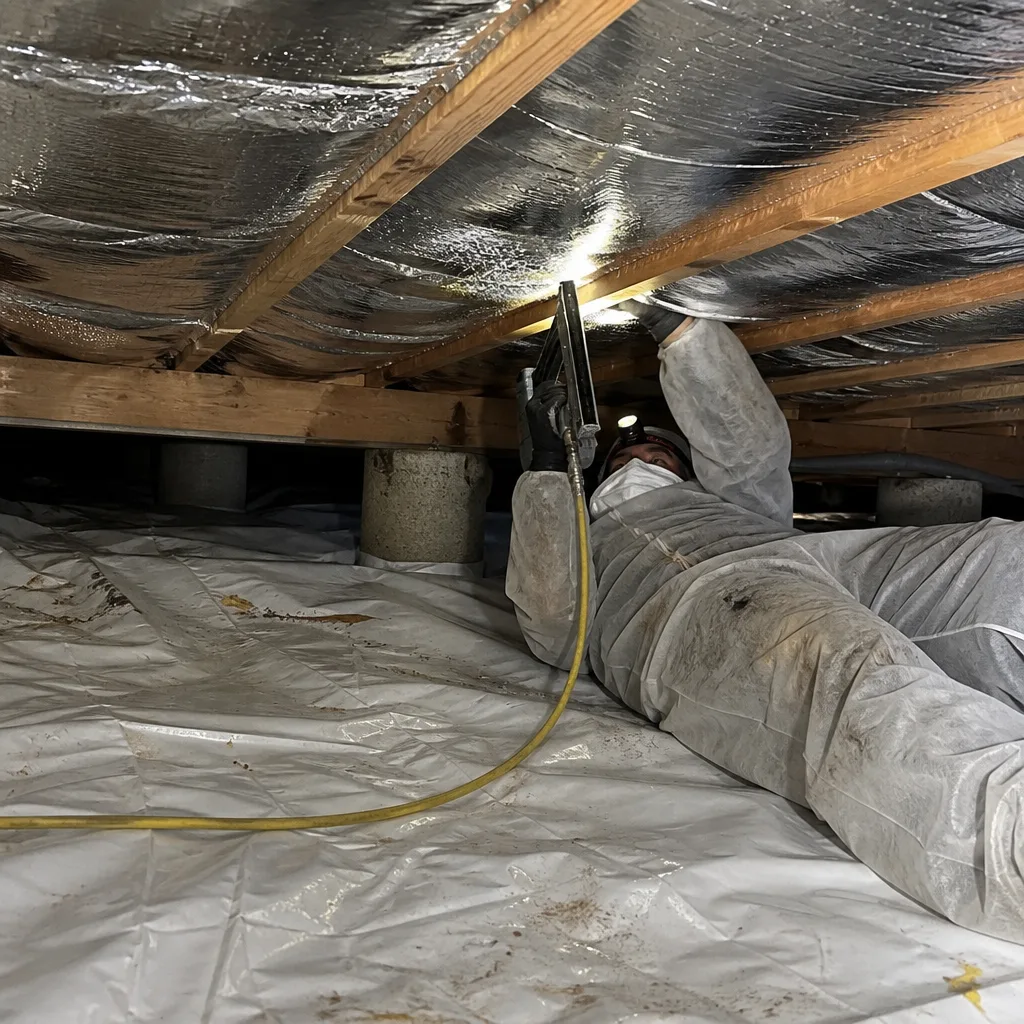
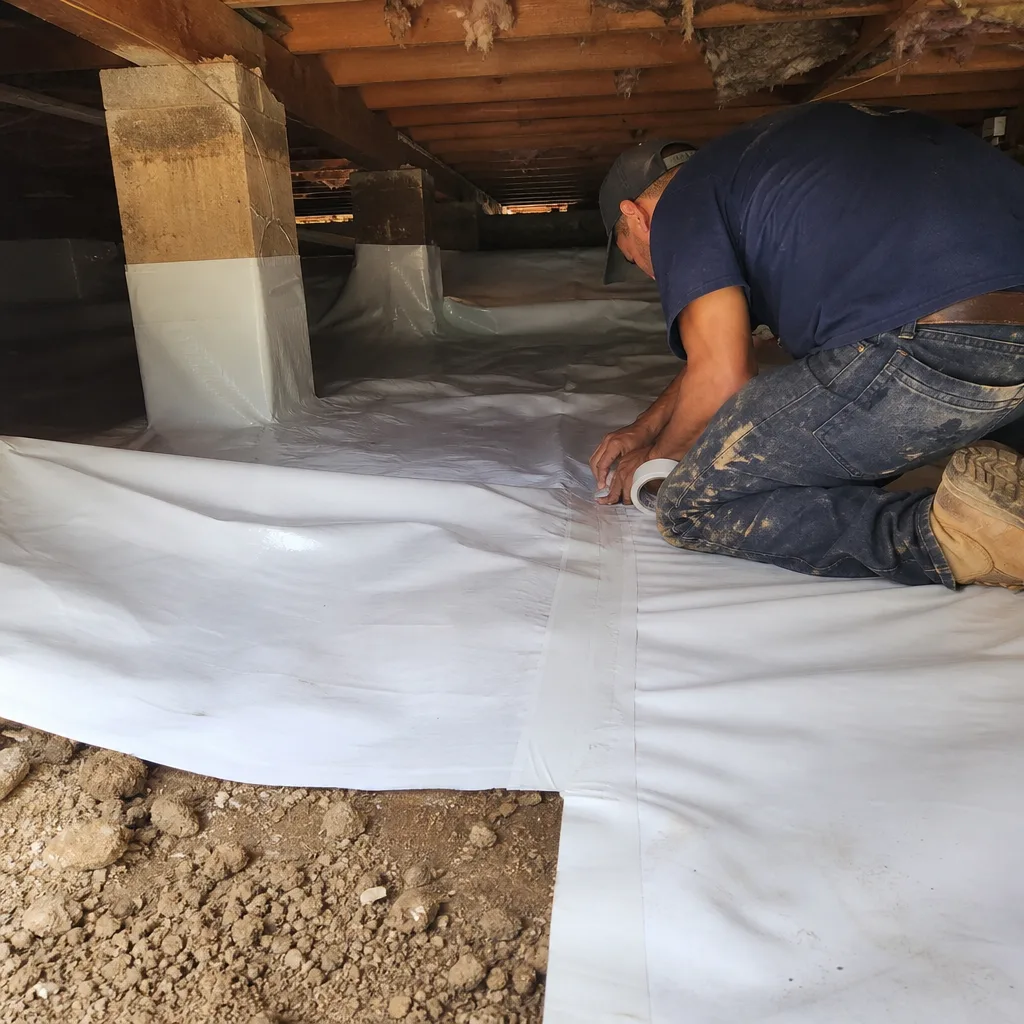
- Ignoring the crawl space while fixing the attic. Santa Clarita’s many homes with raised foundations have significant thermal bypass through unsealed crawl spaces. Cold air enters at rim joists, travels through wall cavities, and exits at attic penetrations. Crawl space encapsulation in Santa Clarita completes the envelope; partial treatment leaves the bypass active.
- Using standard caulk at fire-rated penetrations. California code requires fire-rated sealants at all penetrations between conditioned and unconditioned space. Standard caulk fails inspection, fails physically, and creates liability if fire spreads through unsealed penetrations. The cost difference is $3-$5 per tube; the compliance and durability difference is years.
- Adding insulation without verifying existing depth. We regularly find Santa Clarita attics with 6 inches of original insulation plus 12 inches of new blow-in - but the original was compressed by storage boards, ductwork, or previous work. The effective R-value is not the sum of labeled values; it’s the sum of actual loft. Remove and regrade before adding, or you’re paying for performance you don’t receive.
- Skipping the fall inspection after mild wind seasons. Not every fall brings 2019-level Diablo winds, but even 30 mph gusts displace loose-fill at eaves over time. The cumulative effect of three mild years equals one severe event. Annual inspection catches displacement before it becomes a heating bill surprise.
When to Call a Professional
Some seasonal insulation tasks belong to professionals with testing equipment and code knowledge. Call for help when you encounter: active pest infestation with contaminated insulation (health hazard, requires coordinated remediation); water-stained or moldy insulation (source must be identified before replacement); knob-and-tube or aluminum wiring in contact with insulation (fire hazard, requires electrical evaluation); ice dam formation or chronic winter ceiling stains (indicates complex heat loss pattern); or any situation where you’re uncertain about fire-rated materials or code compliance.
Topside Attic Insulation Santa Clarita offers free estimates in Santa Clarita - call (747) 294-2764. Every estimate includes a written price before any work starts, under Haven Standard Clause 1. We also provide a Free Second Opinion on any written estimate from another contractor; bring us their scope and we’ll read it with you, line by line. Our 365-Day Done Right Promise applies to all completed work, and a live person answers calls 24/7 - no voicemail loops, no callback windows measured in business days.
Frequently Asked Questions
DIY seasonal tasks - re-sealing top plates, clearing soffits, inspecting for pests - run $50-$150 annually in materials. Professional seasonal inspection and targeted air sealing typically ranges $400-$900, depending on attic accessibility and the extent of sealing needed. Full insulation replacement in a 2,000 square foot Santa Clarita home runs $2,500-$5,500 for blown-in fiberglass or cellulose, $4,500-$9,000 for spray foam. Call (747) 294-2764 for a written estimate on your specific home - estimates are free, and we publish before-and-after blower-door numbers on every applicable job.
Homeowners can safely perform the temperature differential check, visual soffit inspection, and top-plate sealing described in this guide with basic tools and proper safety equipment - respirator, headlamp, knee pads, and a spotter for ladder work. Blower-door testing, contaminated insulation removal, and electrical penetration work require professional equipment and training. If your attic has pre-1990 vermiculite insulation, do not disturb it; it may contain asbestos and requires certified abatement. Call us for identification if you’re uncertain.
Properly installed fiberglass or cellulose insulation in a well-ventilated, dry attic lasts 80-100 years. The more common failure mode is degradation from moisture, pest contamination, or compression - not material aging. In Santa Clarita, we find insulation needs replacement or supplementation every 15-25 years due to these factors, not because the fibers themselves have failed. Spray foam (Icynene, Demilec) does not degrade measurably in normal attic conditions but can be damaged by roof leaks or rodent gnawing.
Because insulation R-value and thermal performance are not the same thing. In Santa Clarita’s summer, inadequate ventilation can raise attic temperatures to 150°F+, overwhelming even R-49 insulation. Ductwork in the attic loses 15-25% cooling capacity to radiant heat. And air leakage at top plates and can lights brings attic heat directly into wall cavities. The fix sequence matters: seal air leaks, verify ventilation, then assess whether additional insulation is needed. We’ve tested homes with R-19 that performed better than homes with R-38 because the R-19 home was properly sealed and ventilated.
Yes. The October 2019 event was extreme but illustrative; even routine 30-40 mph fall winds in Santa Clarita displace loose-fill insulation at eaves, invert or tear soffit baffles, and drive debris into ventilation paths. The damage is cumulative and often hidden until heating or cooling costs spike. Post-wind inspection every October is the preventive measure; waiting for bill shock is the expensive alternative. In wind-exposed neighborhoods - Sand Canyon, Placerita Canyon, ridge-top Valencia - we recommend rigid baffles and stabilized blow-in products or spray foam at eave perimeters.
Air sealing stops conditioned air from escaping and unconditioned air from entering; insulation slows heat transfer through solid materials. They’re complementary but distinct. Adding insulation over unsealed leaks is like wearing a thick sweater in the wind - the wind goes right through. The air sealing must happen first so the insulation can perform at its labeled R-value. At Envelope Insulation Co., we seal top plates, can lights, and all penetrations before any insulation is added. The blower-door test verifies the result; the homeowner receives before-and-after numbers in writing.
The Bottom Line
Santa Clarita’s climate imposes four distinct seasonal stresses on your home’s thermal envelope: summer radiant heat that demands adequate ventilation, fall Diablo winds that displace loose-fill and damage baffles, winter freezes that expose plumbing in under-insulated attics, and spring pest activity that exploits air-sealing gaps. The homeowner who inspects seasonally, seals top-plate bypasses annually, and verifies with periodic blower-door testing protects both comfort and energy cost. The highest-return task - re-sealing top plates with fire-rated materials - costs under $50 and measurably changes envelope performance. For everything else, documented professional evaluation provides the numbers that vague advice cannot replace.
Written by Wes Okafor, Owner at Topside Attic Insulation Santa Clarita, serving Santa Clarita since 2016.